outdoors

Day Hike to Grinnell Glacier in Glacier National Park

The hike to Grinnell Glacier in Glacier National Park is one of the more enjoyable day hikes we have done. The trail offered a good workout and beautiful views that beg you to stop and stare. The hike starts at the Grinnell Glacier Trailhead in the Many Glacier section of the park and climbs 1,840 feet over 7.6 miles (11.4 roundtrip). It winds through alpine meadows and along a cliff face, offering views of Josephine Lake, Lower Grinnell Glacial Lake, and several waterfalls.

SAM_0411.JPG

Once at the top, you can enjoy a panoramic view of Grinnell Glacier and Upper Grinnell Lake. The color difference between the upper and lower parts of Grinnell Lake is striking. You can content yourself with this view or you can climb down to the edge of the lake and over to the glacier. Walking on the glacier is not recommended but you can walk right up to the edge of it. We spent almost two hours at the top exploring and taking a lunch break. We even saw a few Bighorn sheep while we were walking around. 

Summary

  • 11.4 miles roundtrip.
  • 1,840 feet elevation gain.
  • Don't forget your bear spray!
  • This trail is marked as strenuous although we saw hikers of many different fitness levels (including children) on the trail. I wasn't carrying a pack and my heart rate was definitely elevated but we didn't need to take any breaks on the way to the top. 
  • I highly recommend spending a decent amount of time at the top. Why would you climb all that way if you aren't going to stay a while to enjoy the view? 
  • Most of the hike was warm (we did our hike in August) but it was quite chilly at the top because of the elevation gain and wind coming off the ice. Bring a jacket if you plan on spending time at the top. 
  • If 11.4 miles sounds like too much, you can cut about 3.4 miles off if you take the shuttle boat starting at Many Glacier Hotel. There is a fee to ride the shuttle boat.
  • Get to the trailhead early. This is a really popular day hike and is more accessible to the crowds that we expected it to be. We arrived at the trailhead around 10 am and were lucky enough to get one of the last spots in the trailhead parking lot. Parts of the trail were also pretty crowded and if we had started earlier we might have had a bit more solitude. 
A view of Lake Josephine a mile or so into the hike.

Approaching Lower Grinnell Lake 

A view of lower Grinnell Lake looking back down the trail. Lake Josephine in the background. 

Closer to the top. You can see the glacier in the background.

Upper Grinnell Lake with view of Grinnell Glacier on lefthand side

View of Upper Grinnell Lake with view of Glacier in background

Bighorn Sheep!

Close up photo of Grinnell Glacier 

Upper Grinnell Lake 

Upper Grinnell Lake with view of Grinnell Glacier in background


Gear List for Backpacking in Glacier National Park

My husband and I backpacked for four days and three nights to Brown Pass in the North Fork of Glacier National Park in late August. This is what I carried in my pack. You can read my full write-up of the trip here

Backpacking with a partner is great because you can share gear and spilt up some of the weight. Taylor carried the tent and some of the food while I carried our Jetboil, water purifier, and about 3/4 of the food. If you're backpacking on your own, you might need to make adjustments to this list. 

Photo of my gear for our backpacking trip in Glacier.. A few items were removed/added after this photo. 

GEAR

CLOTHING 

FOOD 

  • ProBars (6 each)
  • Salami (1 each)
  • Tuna packets (6) 
  • Beef jerky (1 large bag)
  • Via coffee packets (6)
  • Dehydrated whole milk 
  • Mountain House dehydrated backpacking meals (3 each) 
  • Gummy Worms (1 bag) 
  • Trail mix (1 large bag)
  • Baby carrots (1 small bag)
  • Nuun Active Hydrating Electrolyte tablets

OTHER

  • Wet Wipes 
  • Advil
  • Tums
  • Hand Sanitizer 
  • Iodine tablets
  • Mosquito repellant 
  • Travel sized sunscreen
  • Travel Sized Deodorant
  • Travel sized toothbrush and toothpaste
  • Hydrocortisone cream 
  • Kleenex
  • Toilet Paper 
  • Moleskin blister dressings
  • Burts Bees lip balm 
  • Small first aid kit 

What We Learned

We've gone on a few backpacking trips and we're still dialing in our gear. We learn something new on every trip and this was no exception. 

Rain Gear
I agonize on every trip I go on whether or not to bring my full compliment of rain gear. This includes my rain jacket, waterproof pants, and pack cover. I decided not to bring my waterproof pants this time because the forecast didn't call for rain. Well, the forecast was wrong. We got pretty drenched on the second day of our trip. I think I've finally learned that unless I am going somewhere where it almost never rains (like the Grand Canyon), I'm bringing all of my rain gear. It's worth the little bit of extra weight to stay dry and comfortable. 

Utilizing the outside of my pack
I realized on this trip that I do not use the outside of my pack enough and always try to squeeze everything inside of it. For example, I left my very lightweight but comfortable camp chair at home because it wouldn't fit in my pack. Weighing in at only a pound, I could have easily have strapped this to the outside of my pack and had a comfortable place to sit during our hours at camp. 

Bringing the right amount of food and water
This is probably the hardest thing for me. I definitely pack my fears when it comes to packing food and water. On this trip, I could easily have brought a water bottle with attached purifier and filled it up along the hike instead of carrying 3 liters on my back each day. We're also still figuring out the formula for the right amount of food. We had quite a bit of food leftover and didn't even touch the tuna packets we brought. 


My Favorite Outdoor Podcasts

I've gotten more into podcasts recently and have been listening to them a lot in the car or while I run. I've mainly focused on outdoor related podcasts and find they give me a bit of a nature fix when I'm between camping/backpacking trips or stuck inside because of the hot Texas Summer. I'm sharing some of my favorites in this post. 

Outside Podcast

This podcast is basically Outside magazine converted into audio form. Each episode is related to a theme Outside has explored in the past. I've especially enjoyed the Science of Survival pieces where they retell stories of survival in extreme environments. 

My favorite episodes so far:
XX Factor: How the Sports Bra Changed History
Science of Survival: In Too Deep

The Dirtbag Diaries

The Dirtbag Diaries podcast has been around for several years which is great because you can binge listen to episodes and still not run out. The podcast retells adventure stories and covers a range of outdoor experiences like climbing, biking, hiking, skiing, etc. The stories are simple yet inspiring. 

My favorite episodes so far:
The Fear is Real
Start Saying Yes
Any of the Tales of Terror episodes (there are 7 volumes) 

Women on the Road

This is a brand new bi-weekly podcast with only 3 episodes so far, but I'm really enjoying it. The podcast is hosted by Laura Hughes, a woman who lives out of her Ford Transit Van. She interviews other women in various stages of life on the road. As someone who has thought about this lifestyle a lot recently, I'm really enjoying hearing experiences of other women who have made it a reality. 

My favorite episode so far: 
Episode one: What we wish we knew before hitting the road

Village Creek State Park

A view of Village Creek, a tributary of the Neches River and the Park's namesake.

A view of Village Creek, a tributary of the Neches River and the Park's namesake.

The Park at a Glance 

Located about 4 hours East of Austin in Lumberton, TX (near Beaumont)
16 walk-in campsites + 1 Group campsite, 25 water/electric campsites, 8 person cabin, 
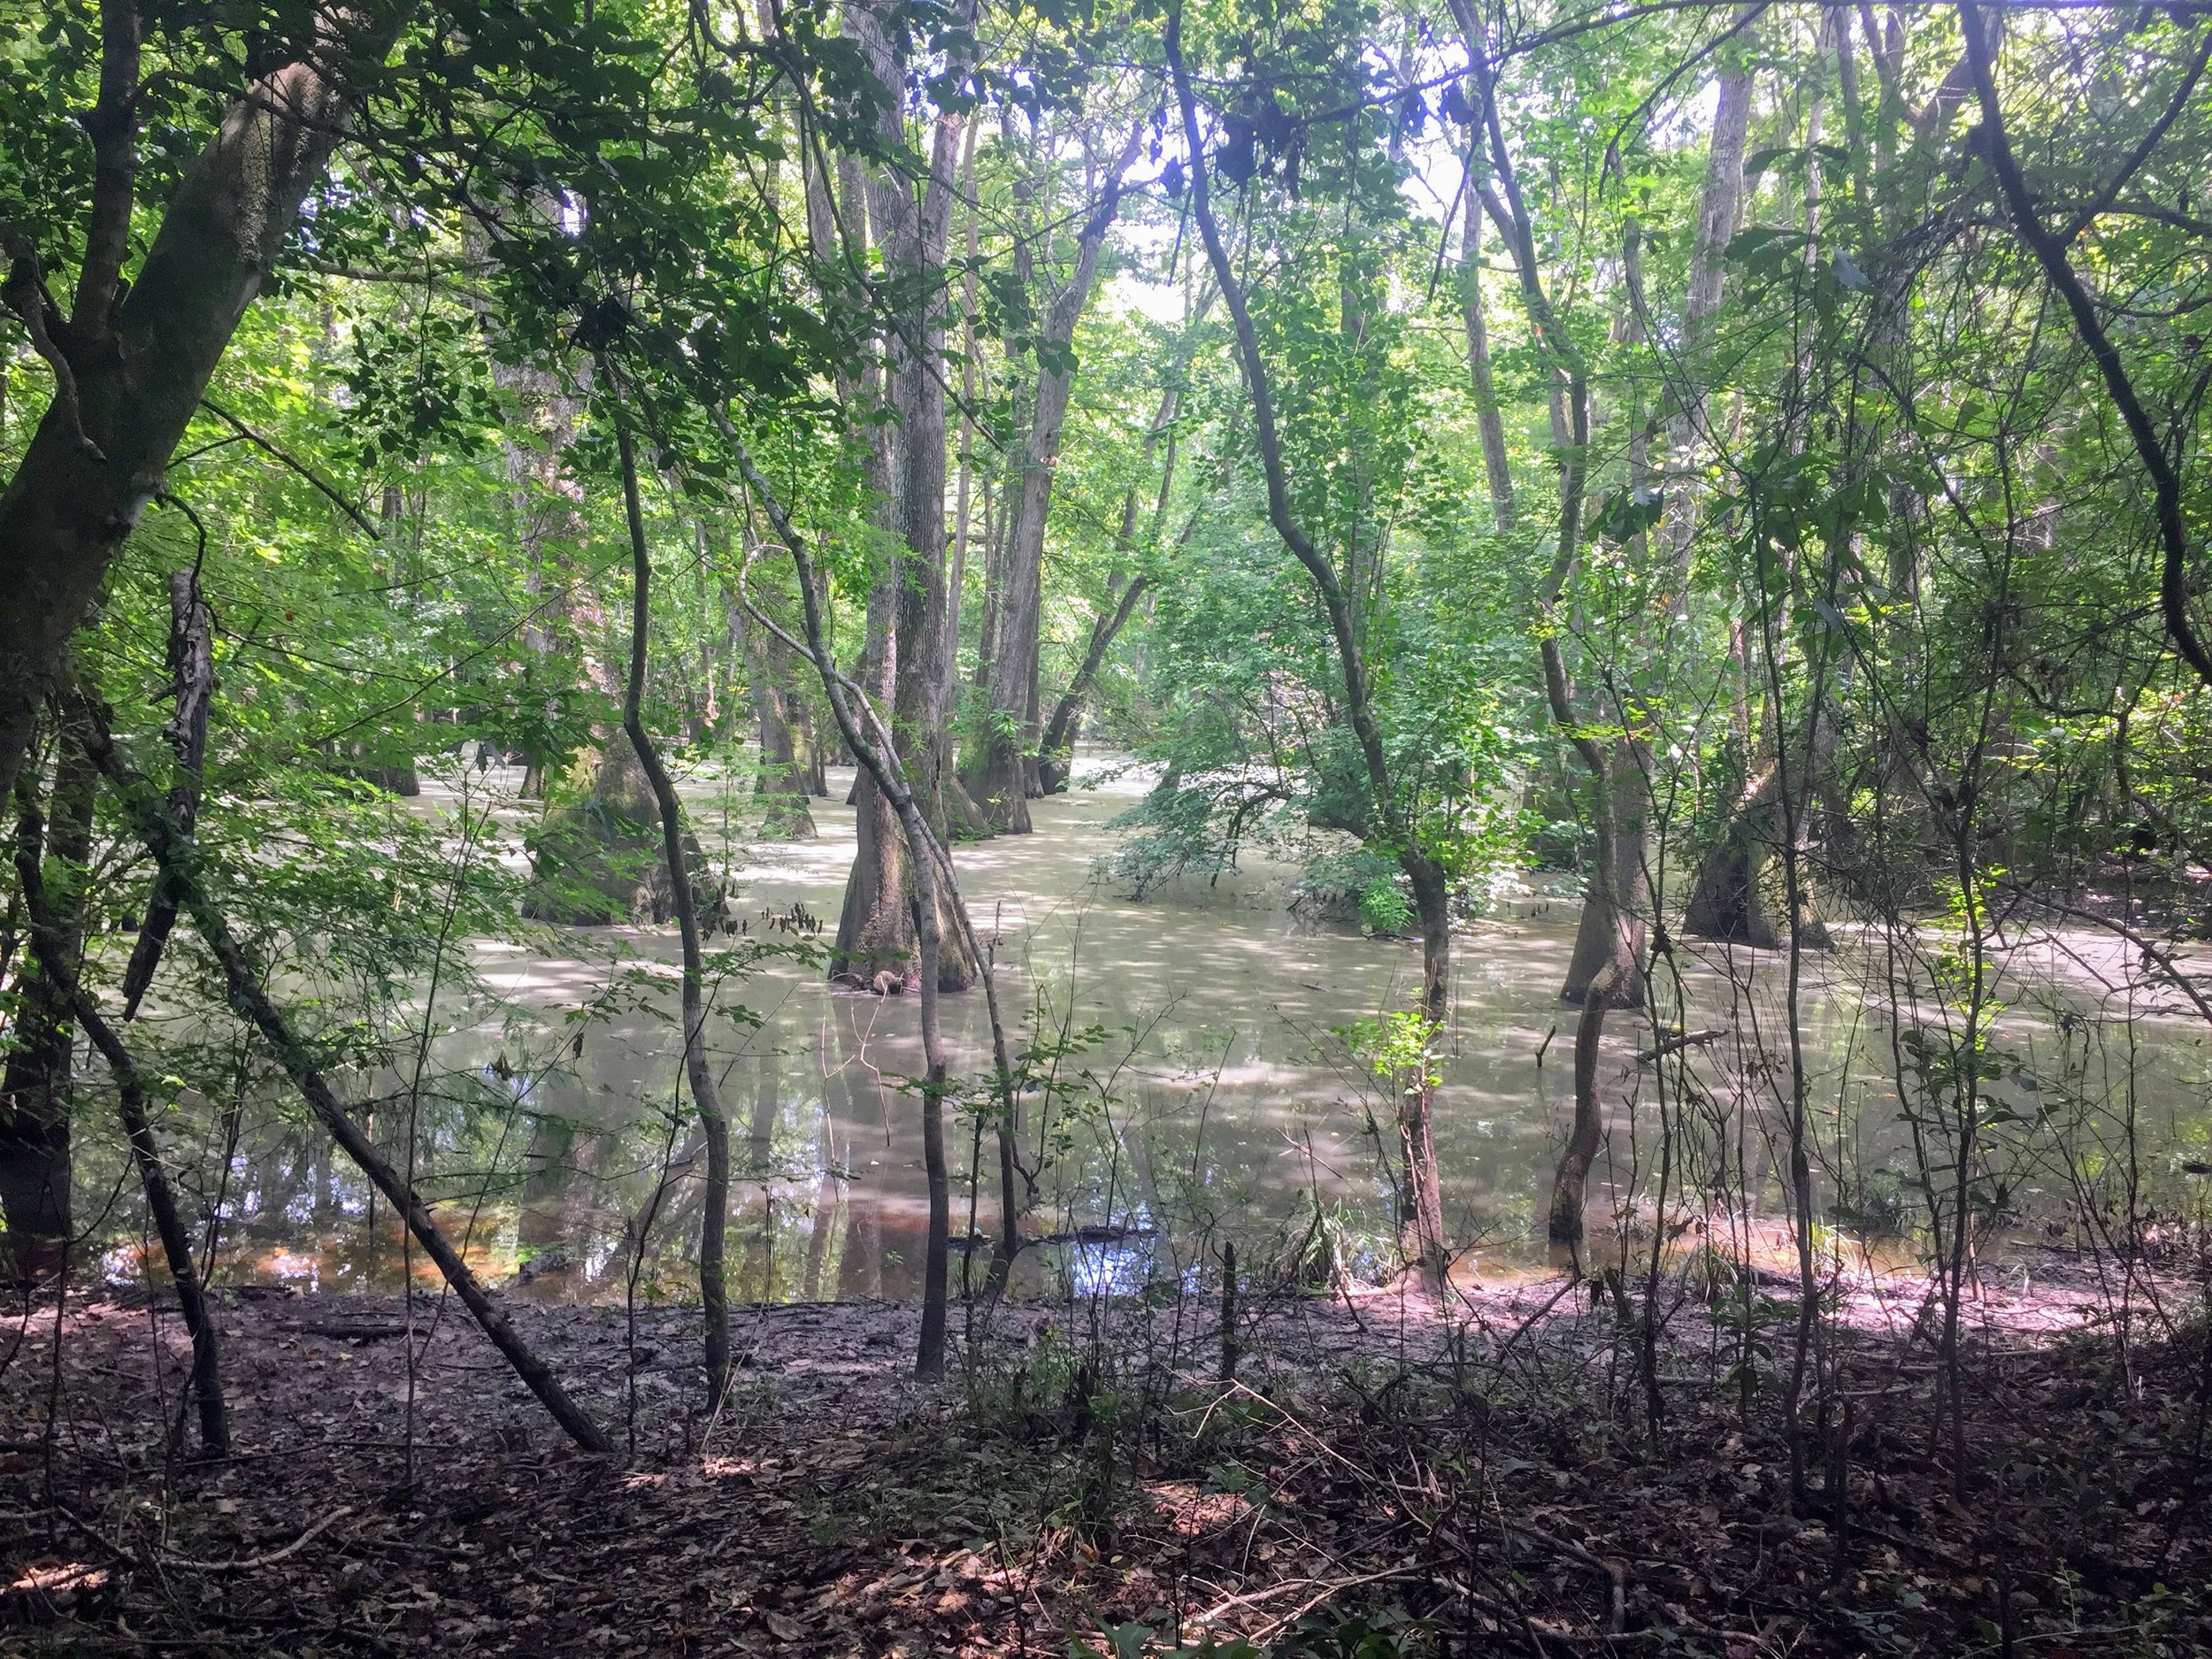
Heavily forested featuring Cypress Swamps
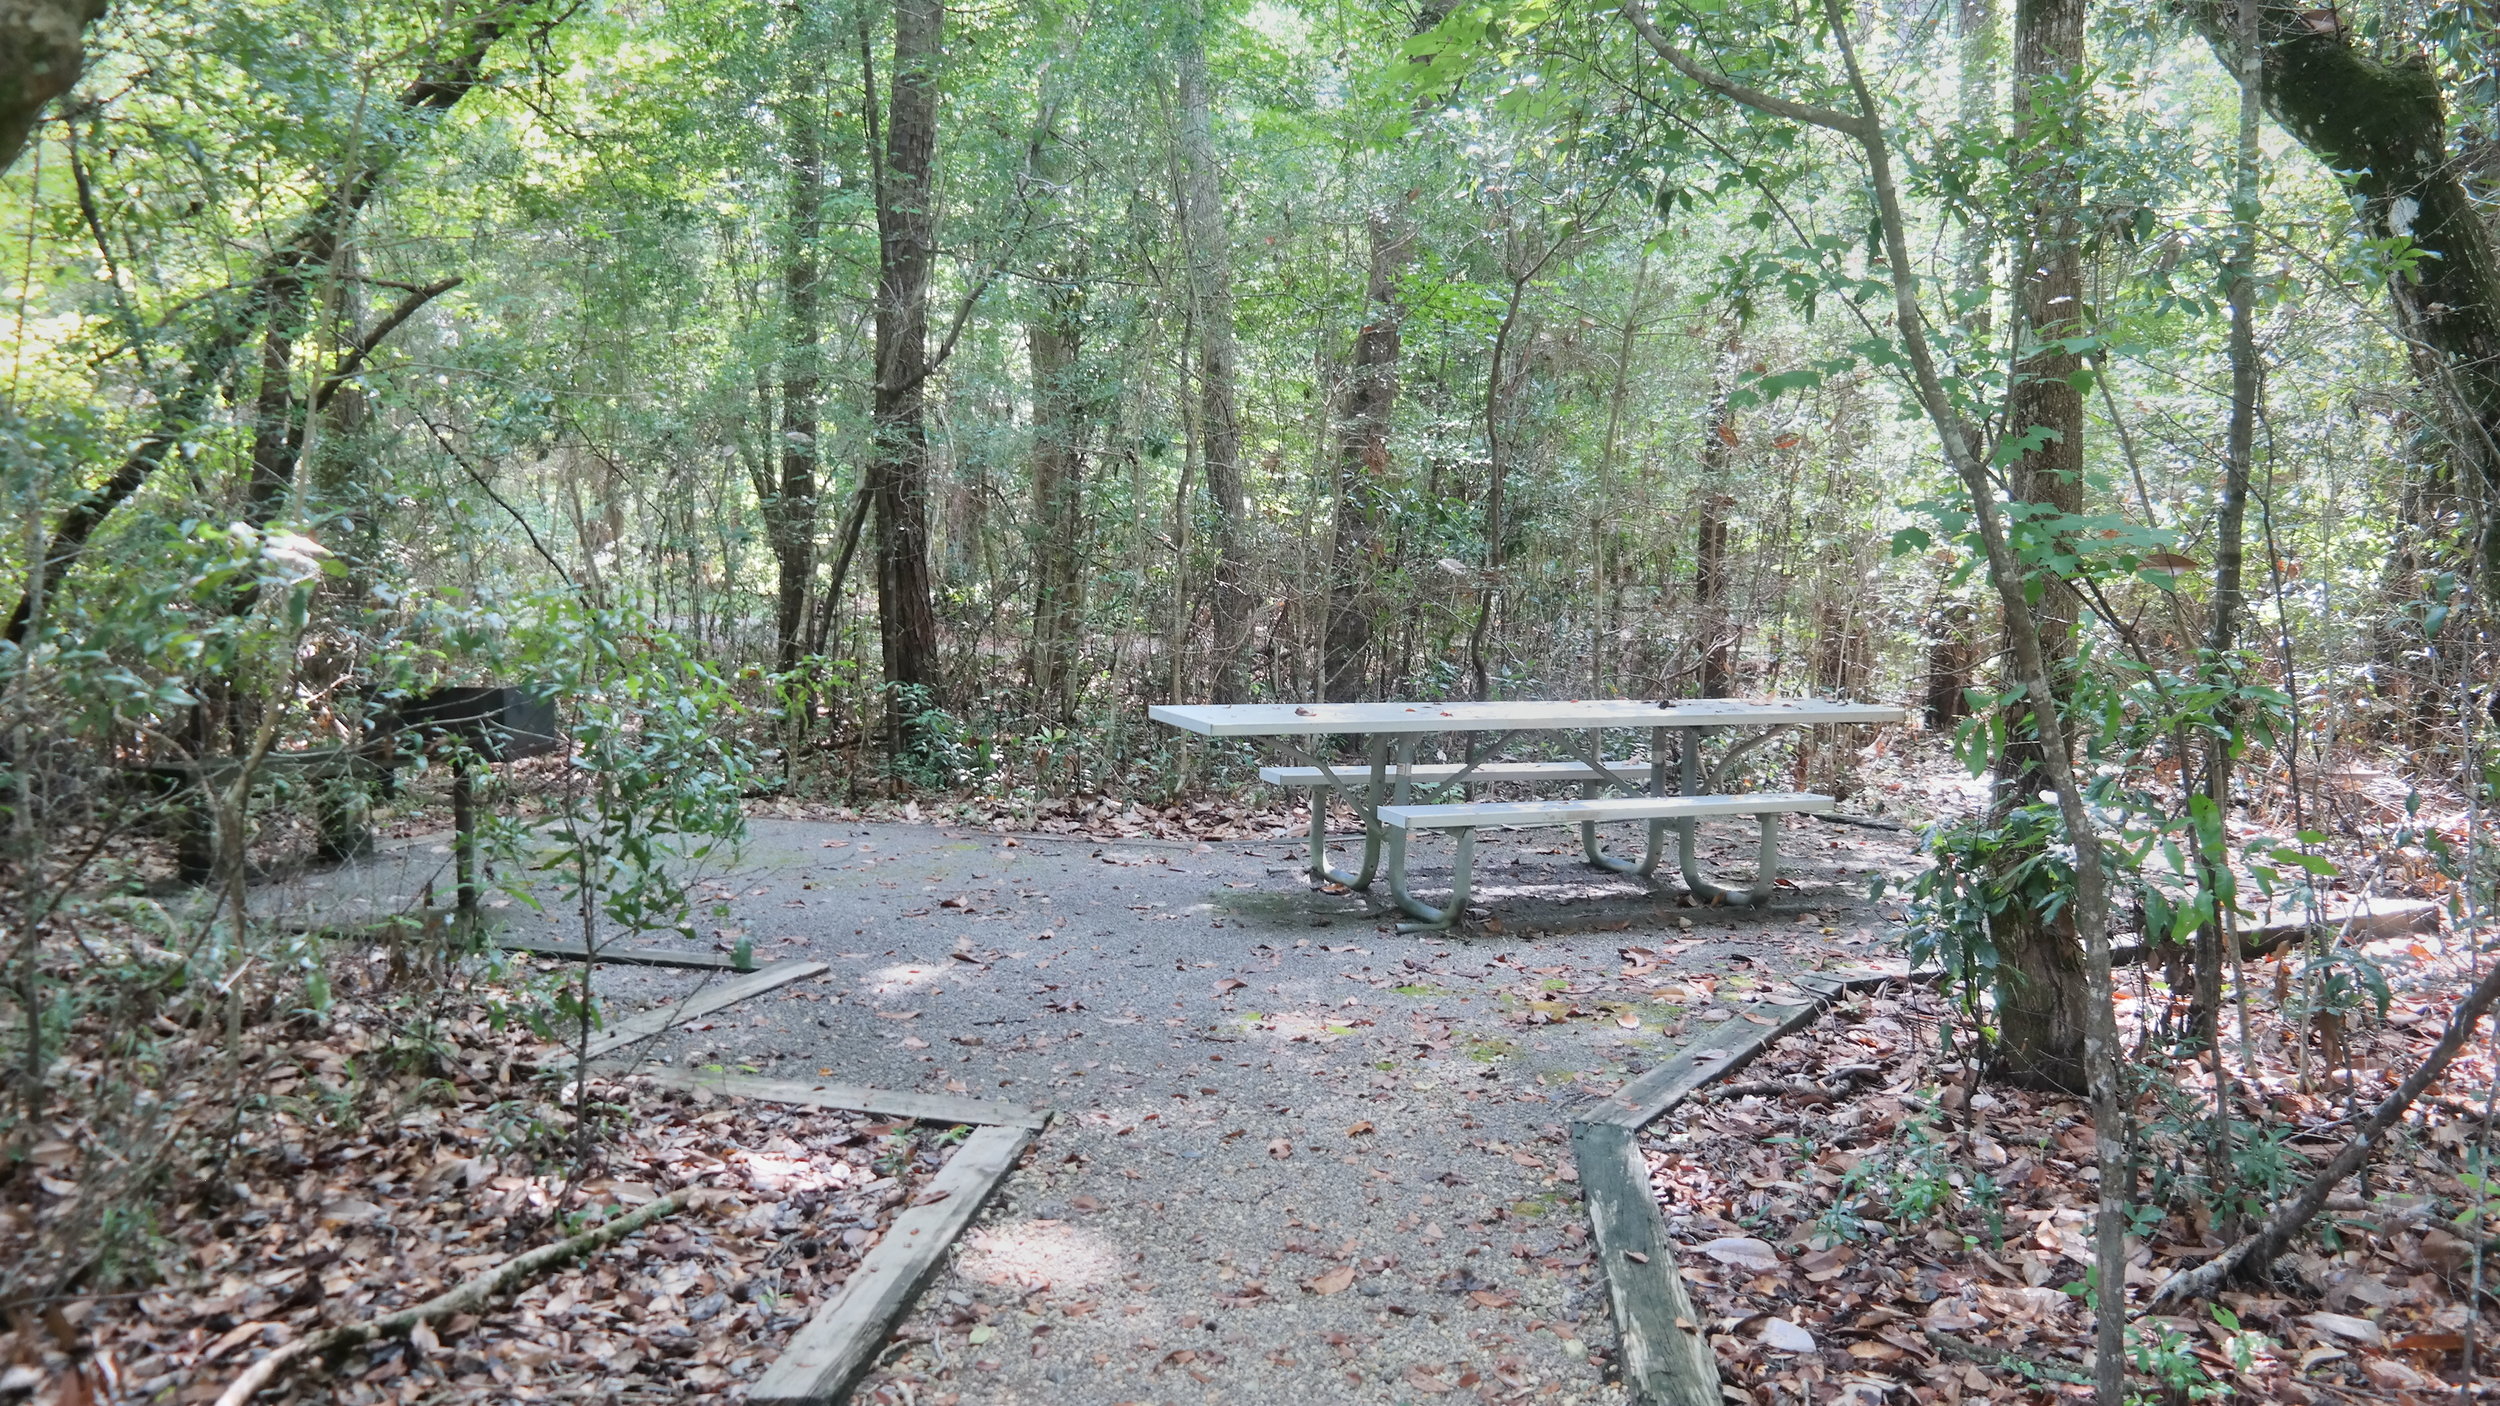
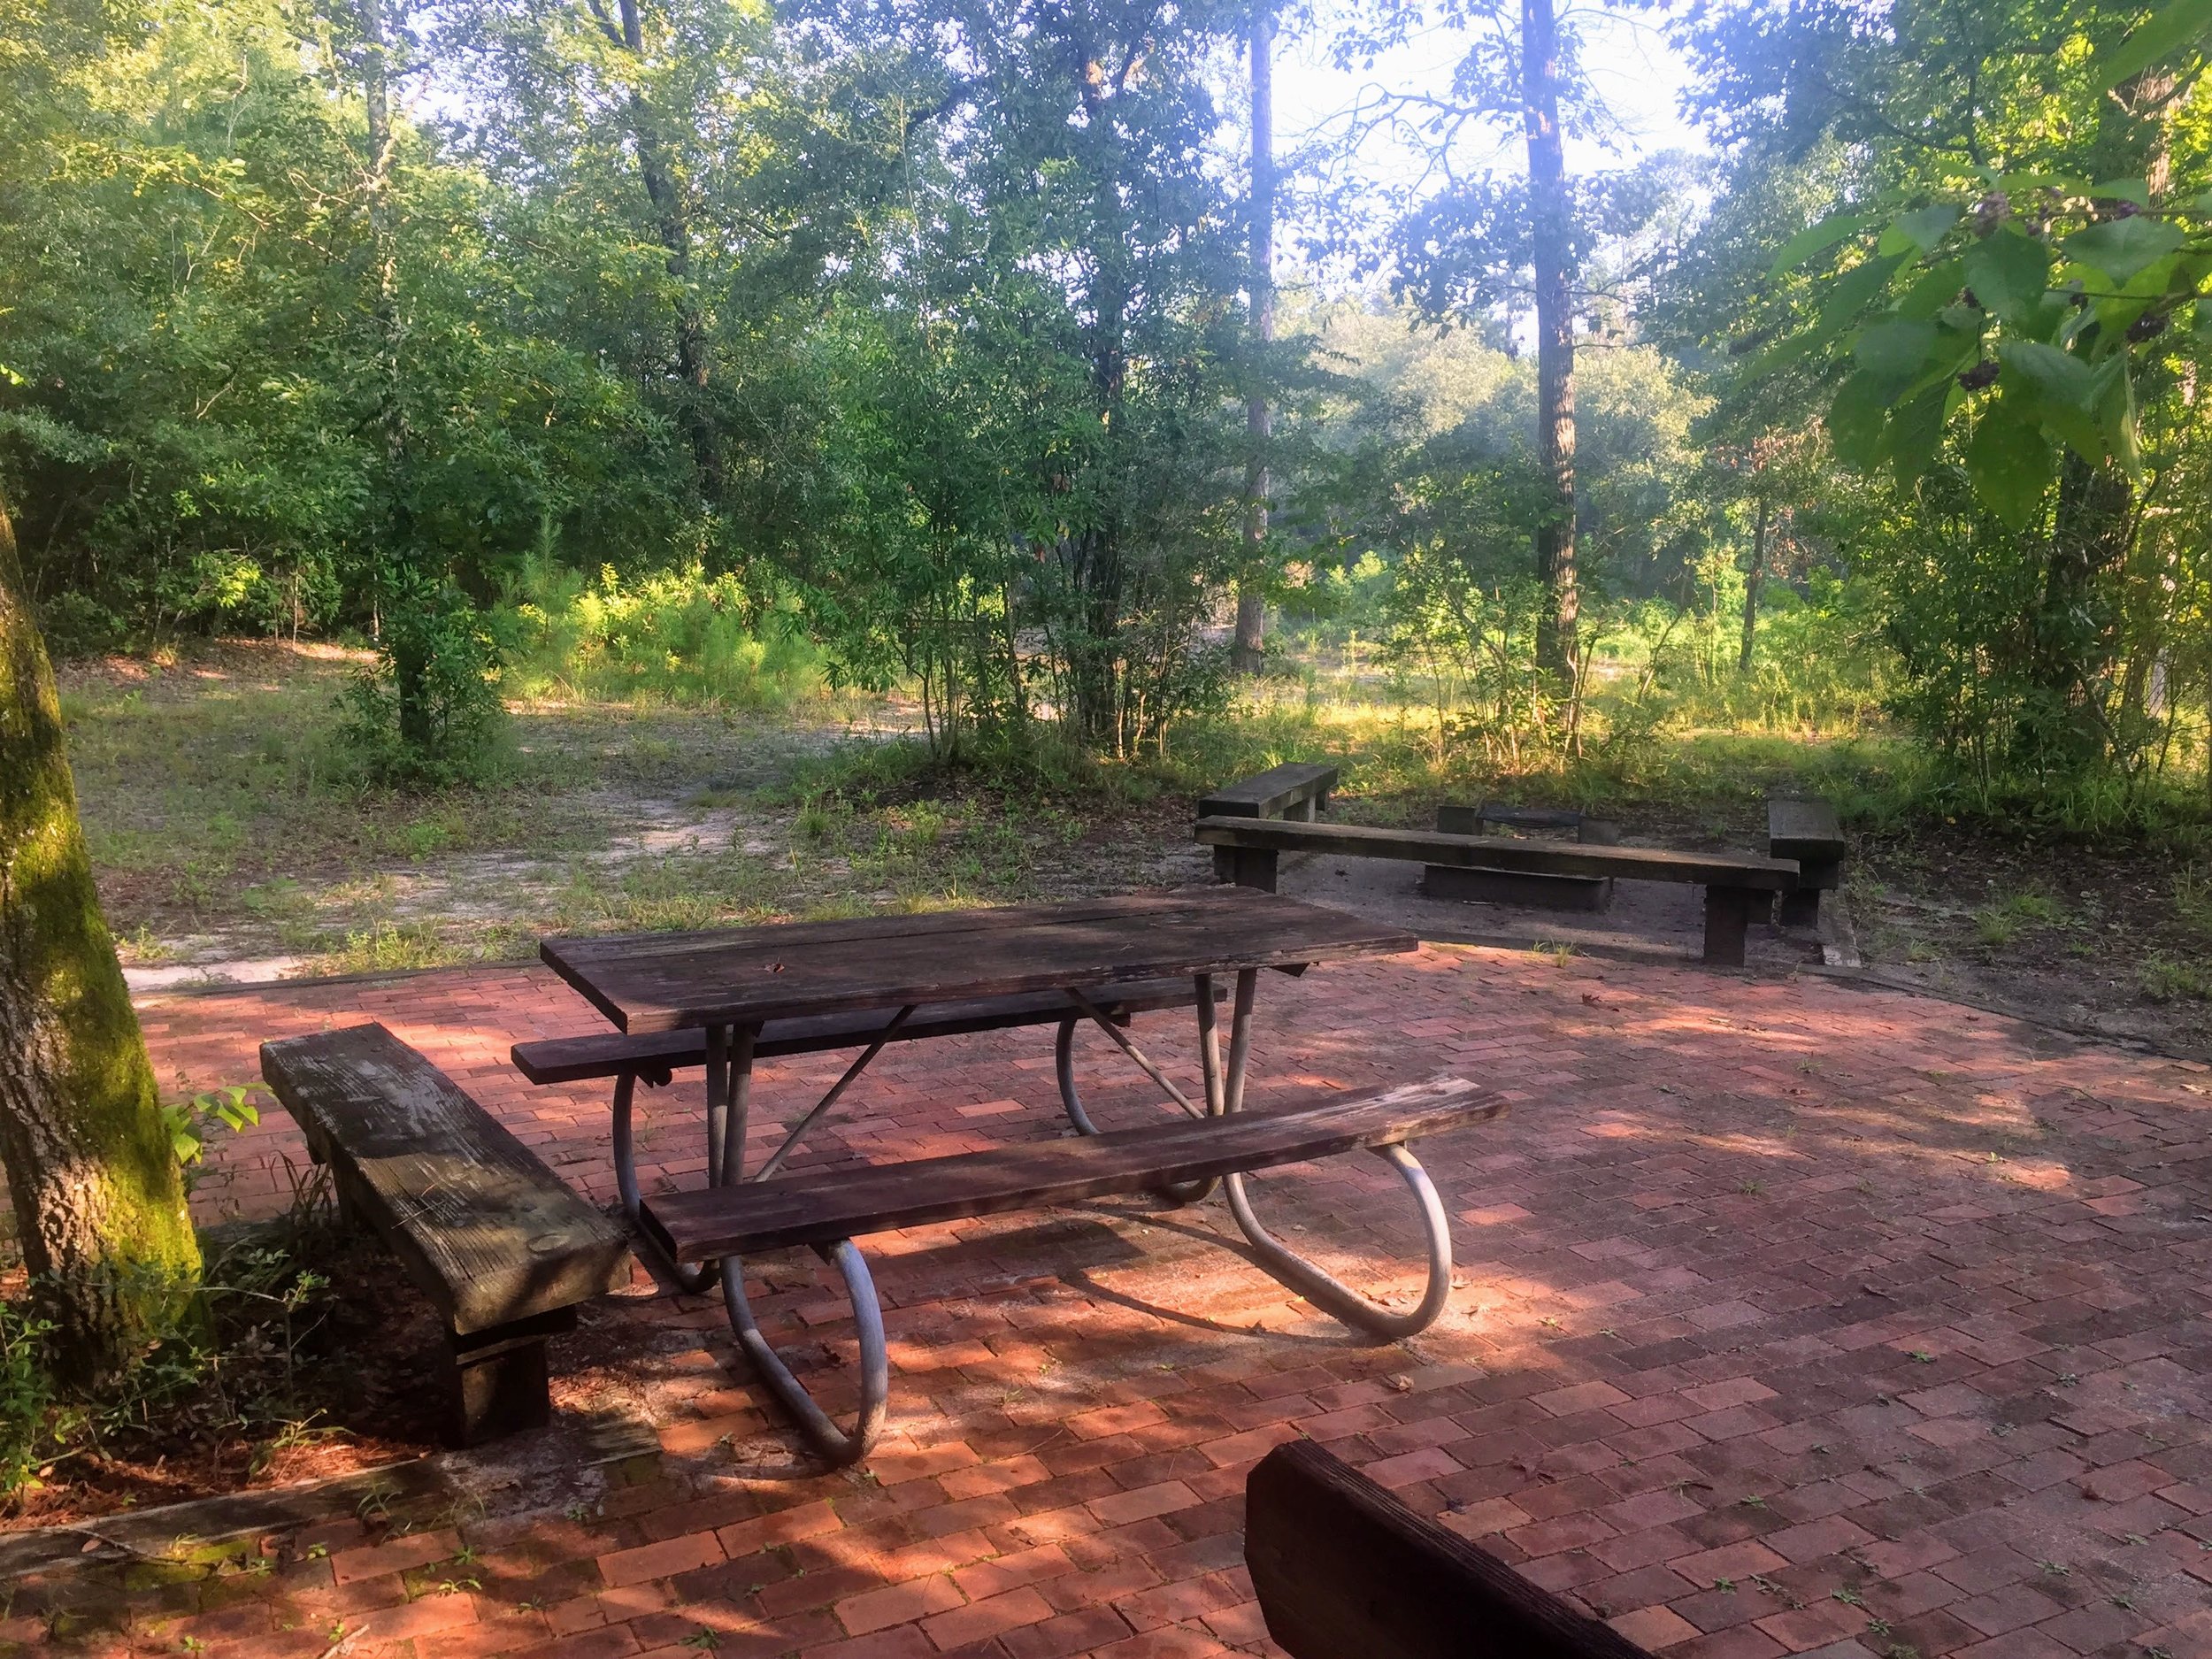
Several heavily shaded and private picnic areas
Canoe launch with access to 40 miles of smooth water
8 miles of hiking trails

Holy Humidity! 

This was the least busy State Park I have ever been to and that may have been because outside in Texas in August is not always the most fun (read: so sweaty). Wanting to camp but not wanting to spend the night cooking in our tents, we managed to snag a two-night reservation at the 8 person cabin in the park. I wouldn't go so far as to actually call what we did "camping," but it did give us a chance to explore the park while having an air conditioned refuge and shower to head back to when we were done. Unfortunately, the walk-in campsites were flooded so I didn't get a chance to see what camping in the park would normally be like. 

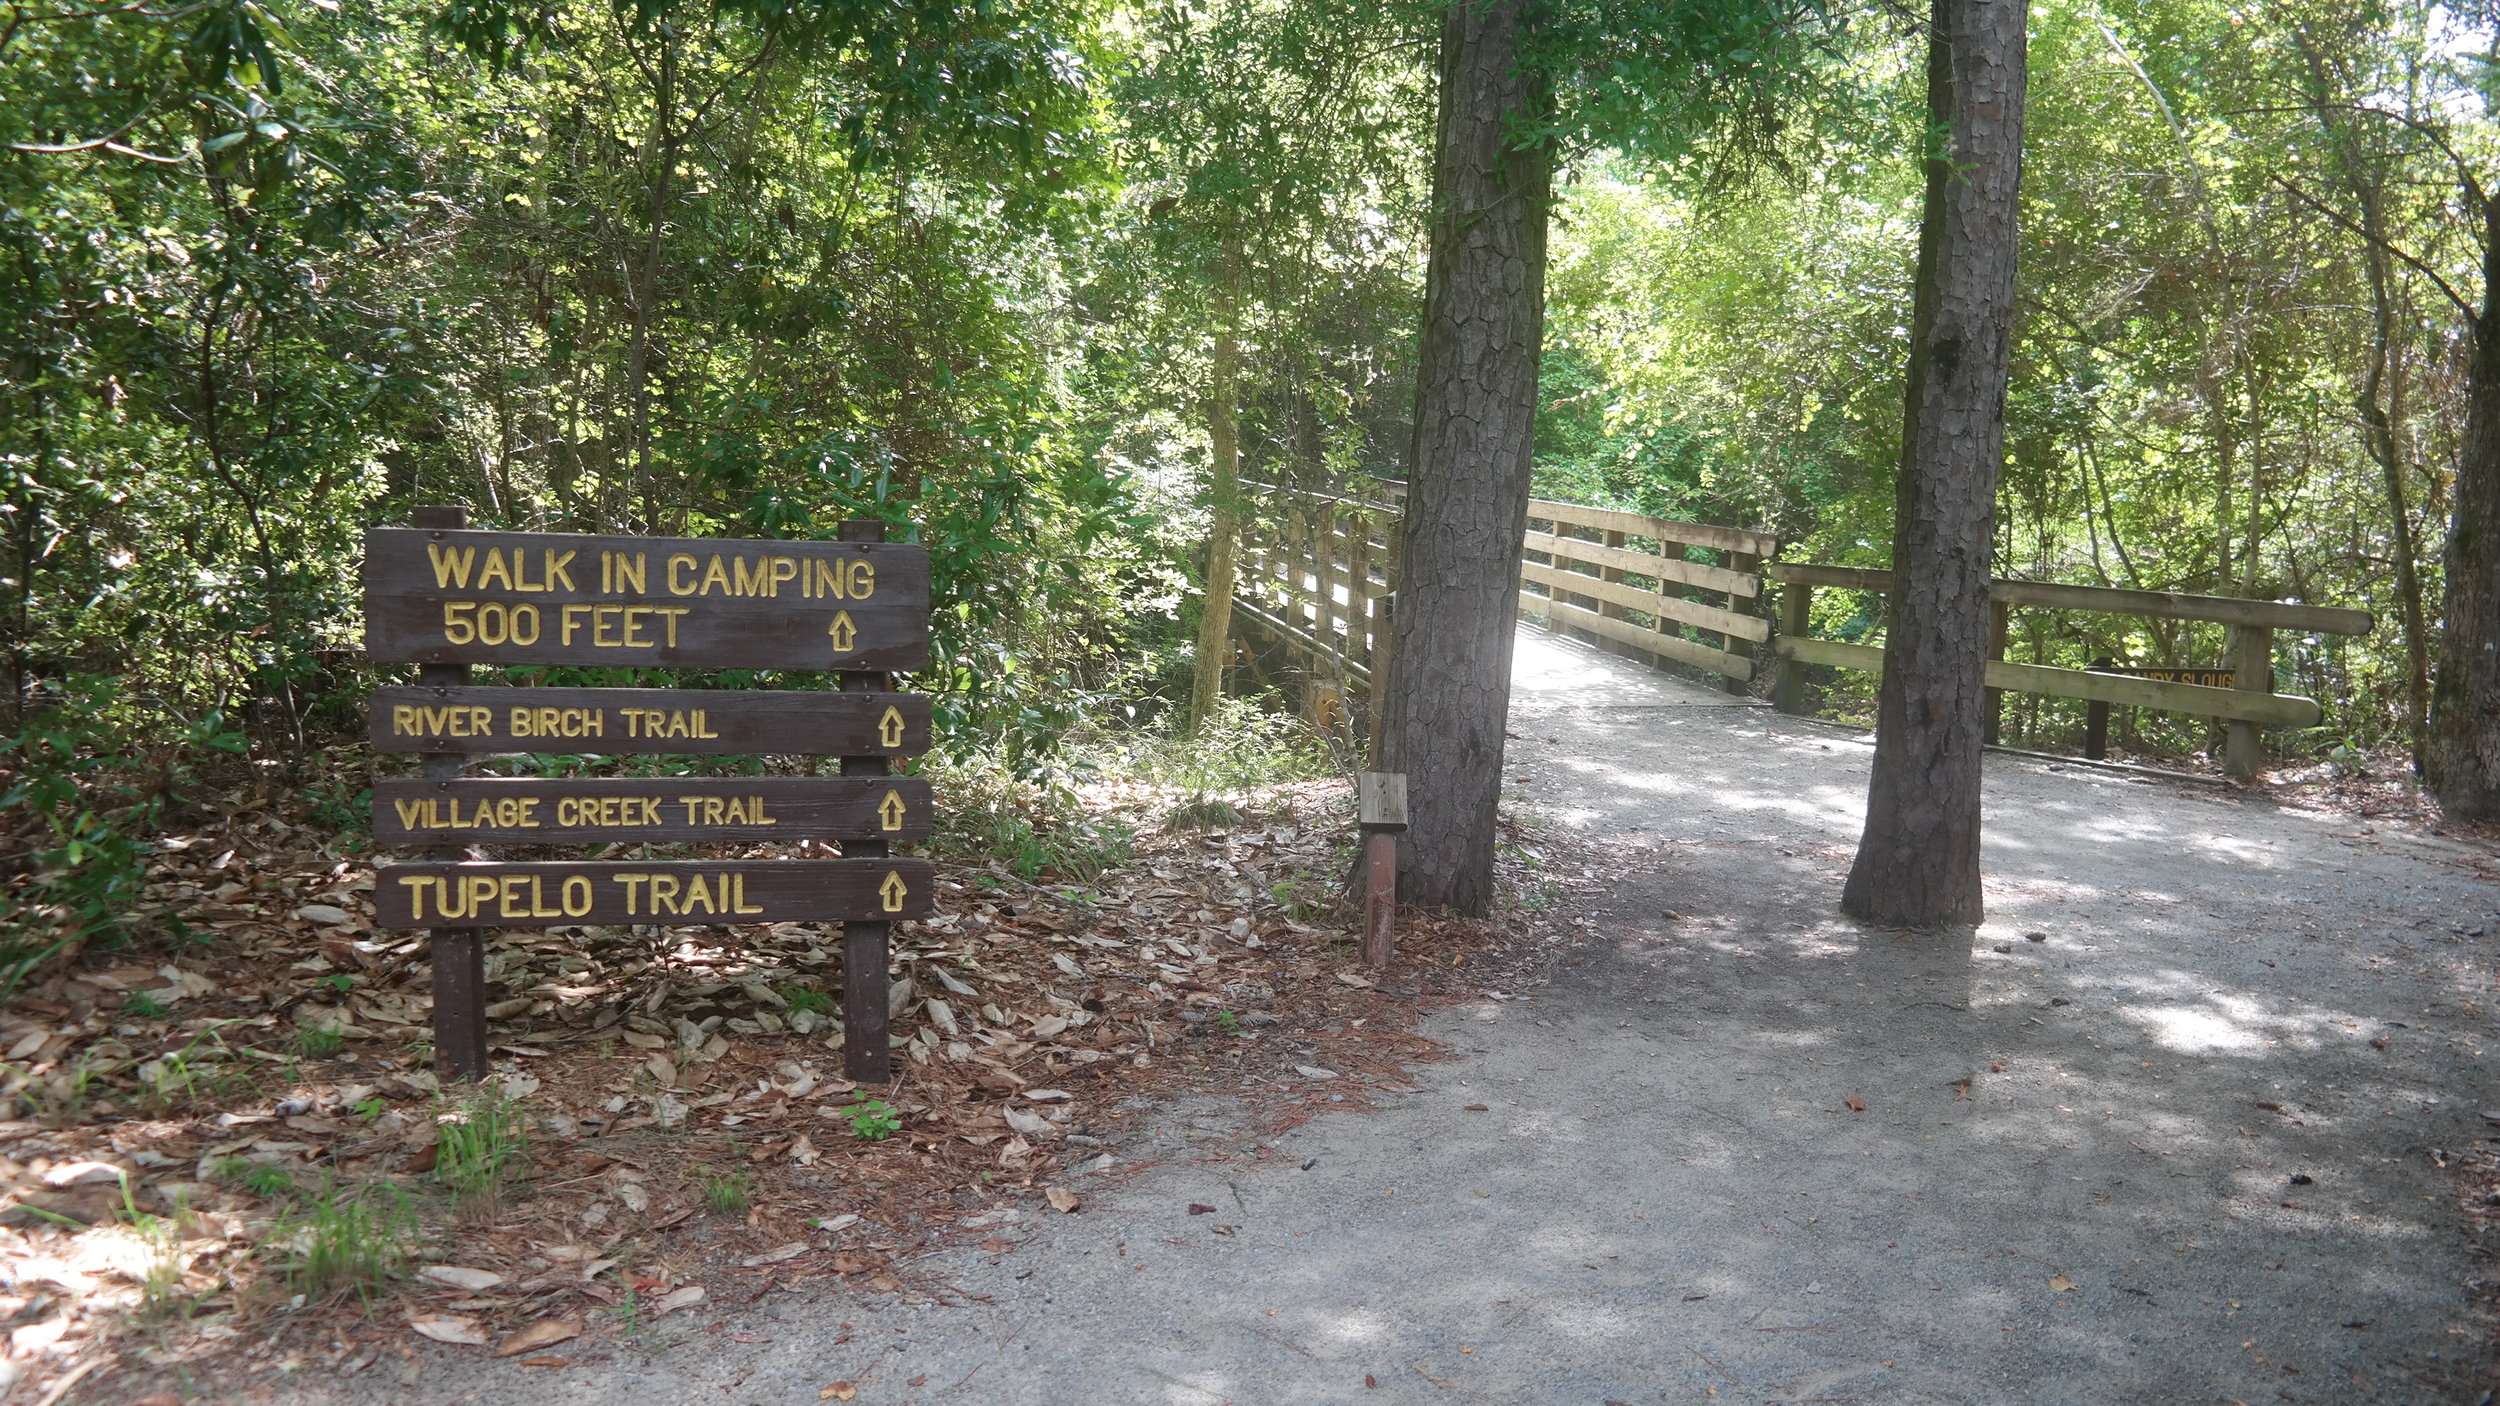
Swimming area at the end of Village Creek Trail (1.13 miles one way)

Swimming area at the end of Village Creek Trail (1.13 miles one way)

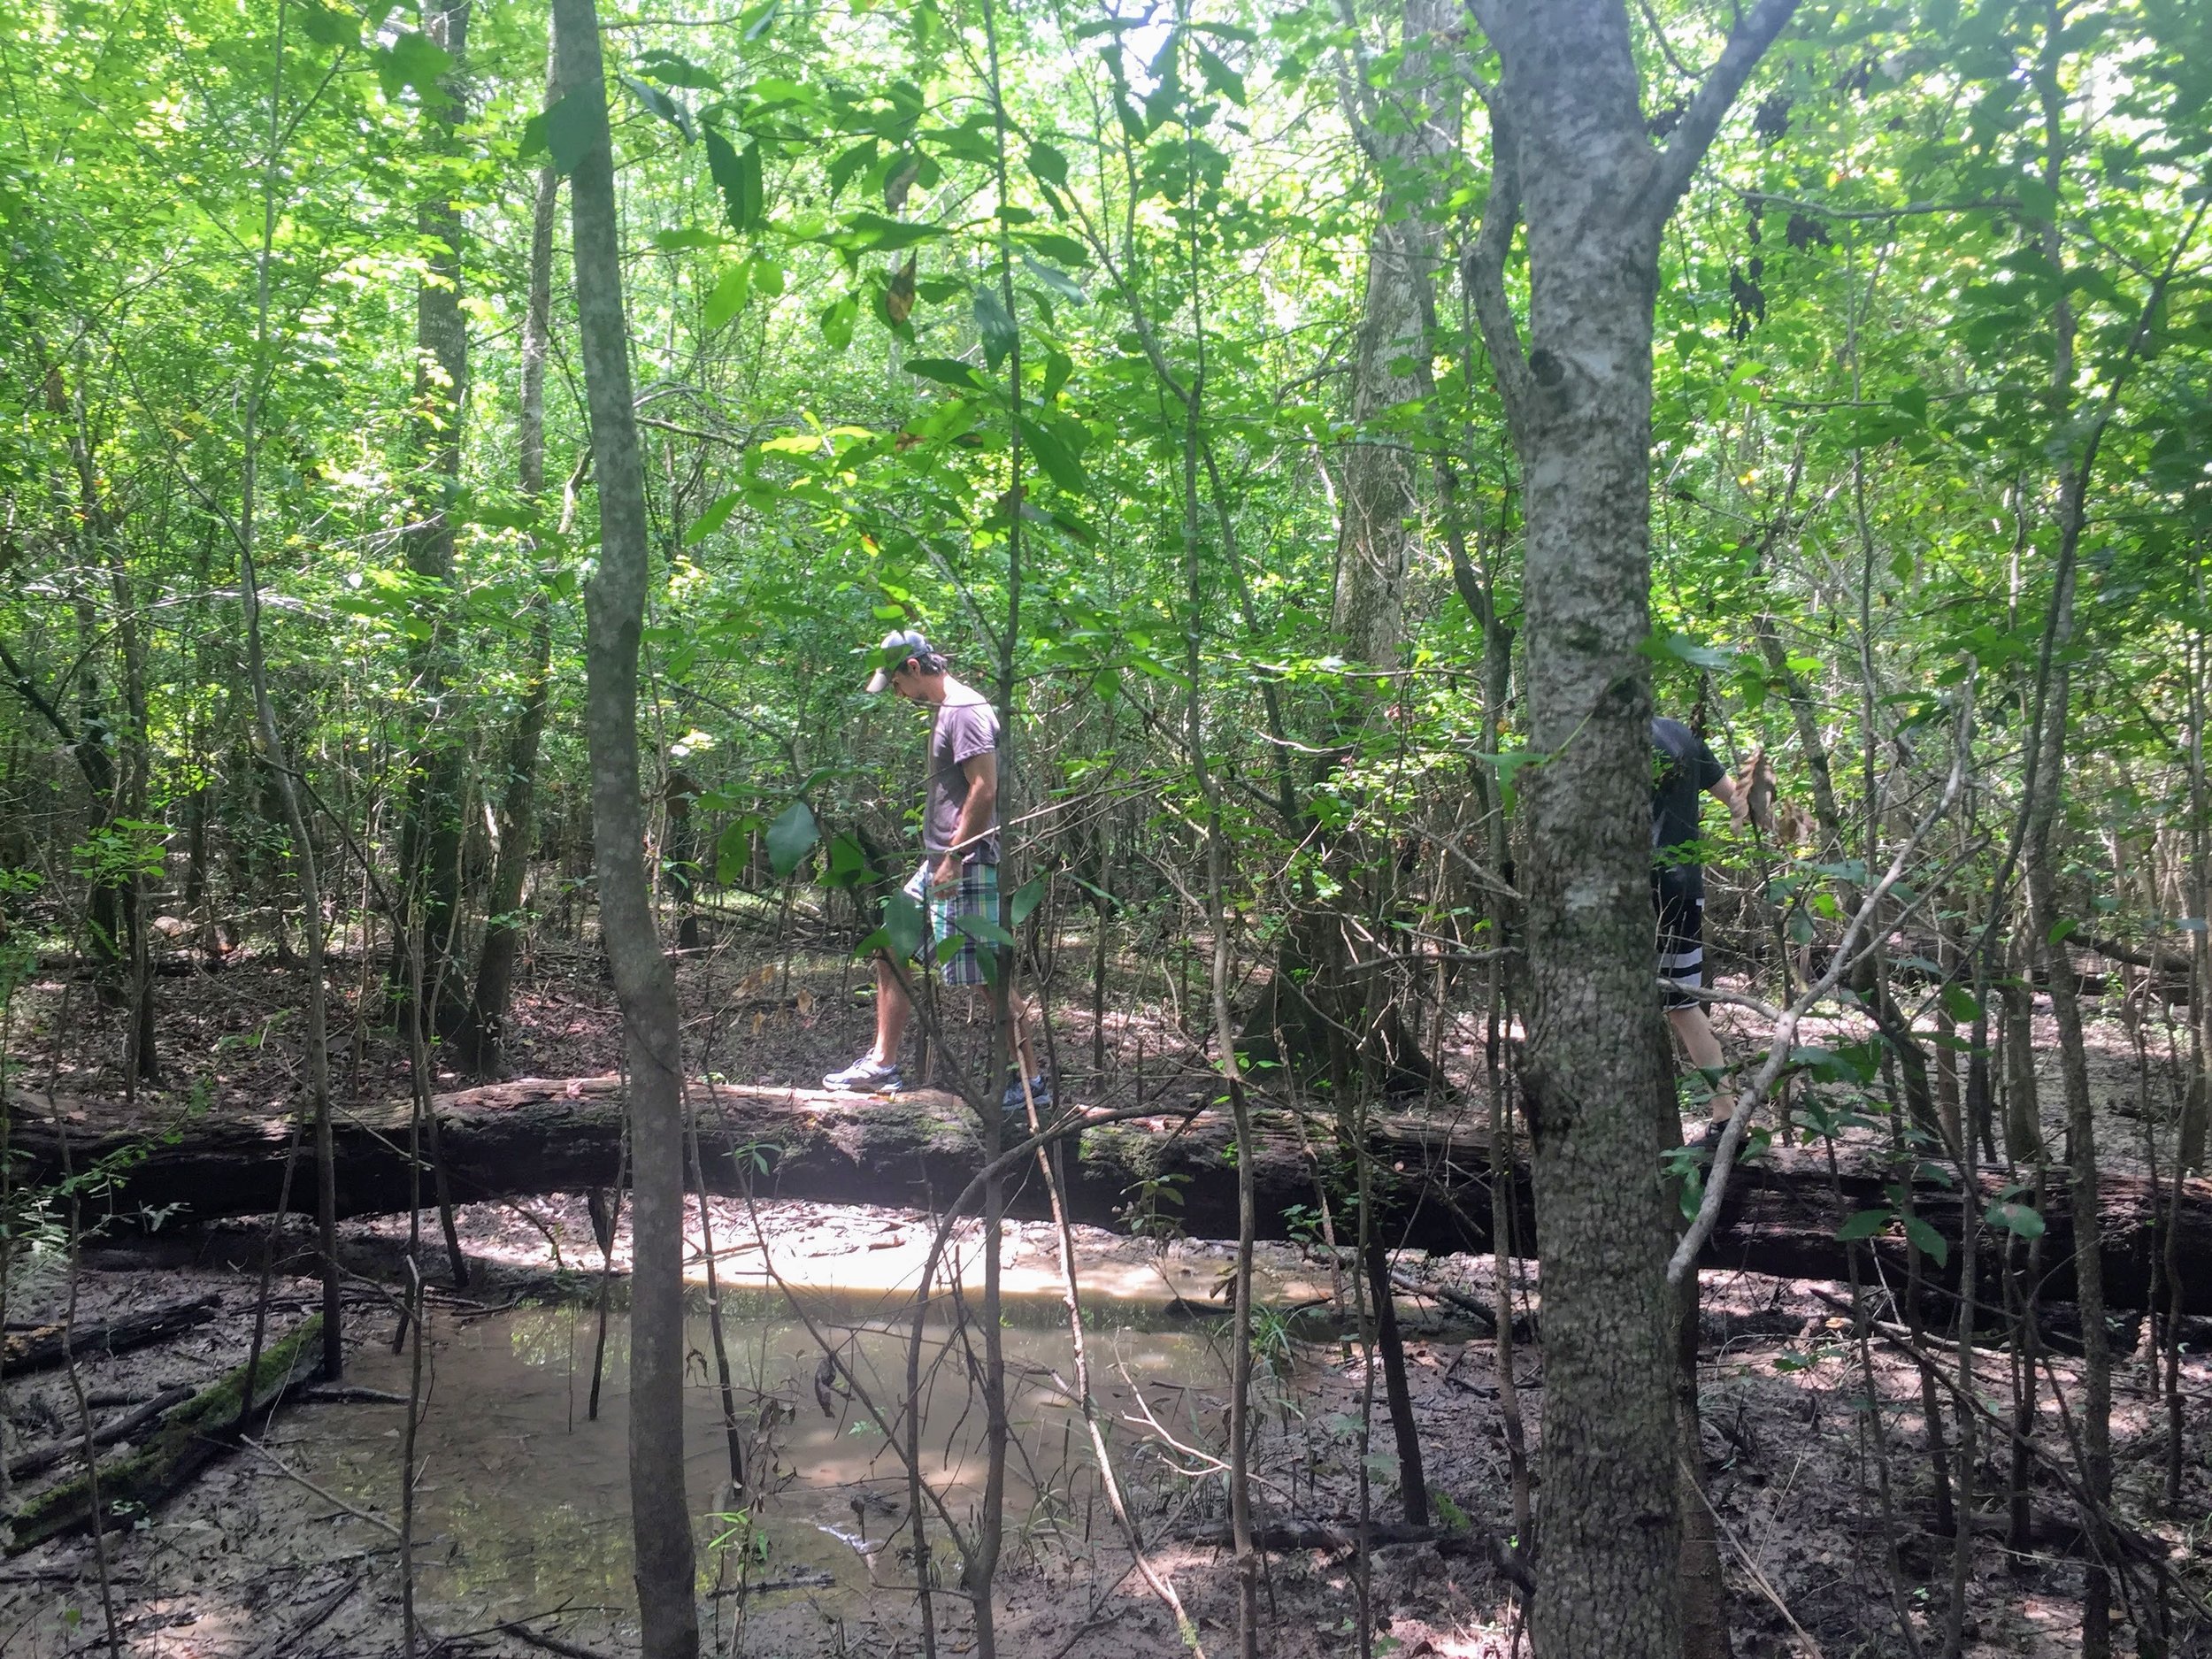
The park has about 8 miles of trails that wind through cypress-tupelo swamps. These trails are also great for biking and trail running. There is one main swimming area with a sizeable beach. The park has numerous warnings about alligators living in the area, which convinced us not to swim despite the heat. We kept our eyes peeled but unfortunately, we didn't see any during our visit to the park. There is also a canoe launch and the park lends fishing tackle if you aren't into hiking/biking. 

The Cabin

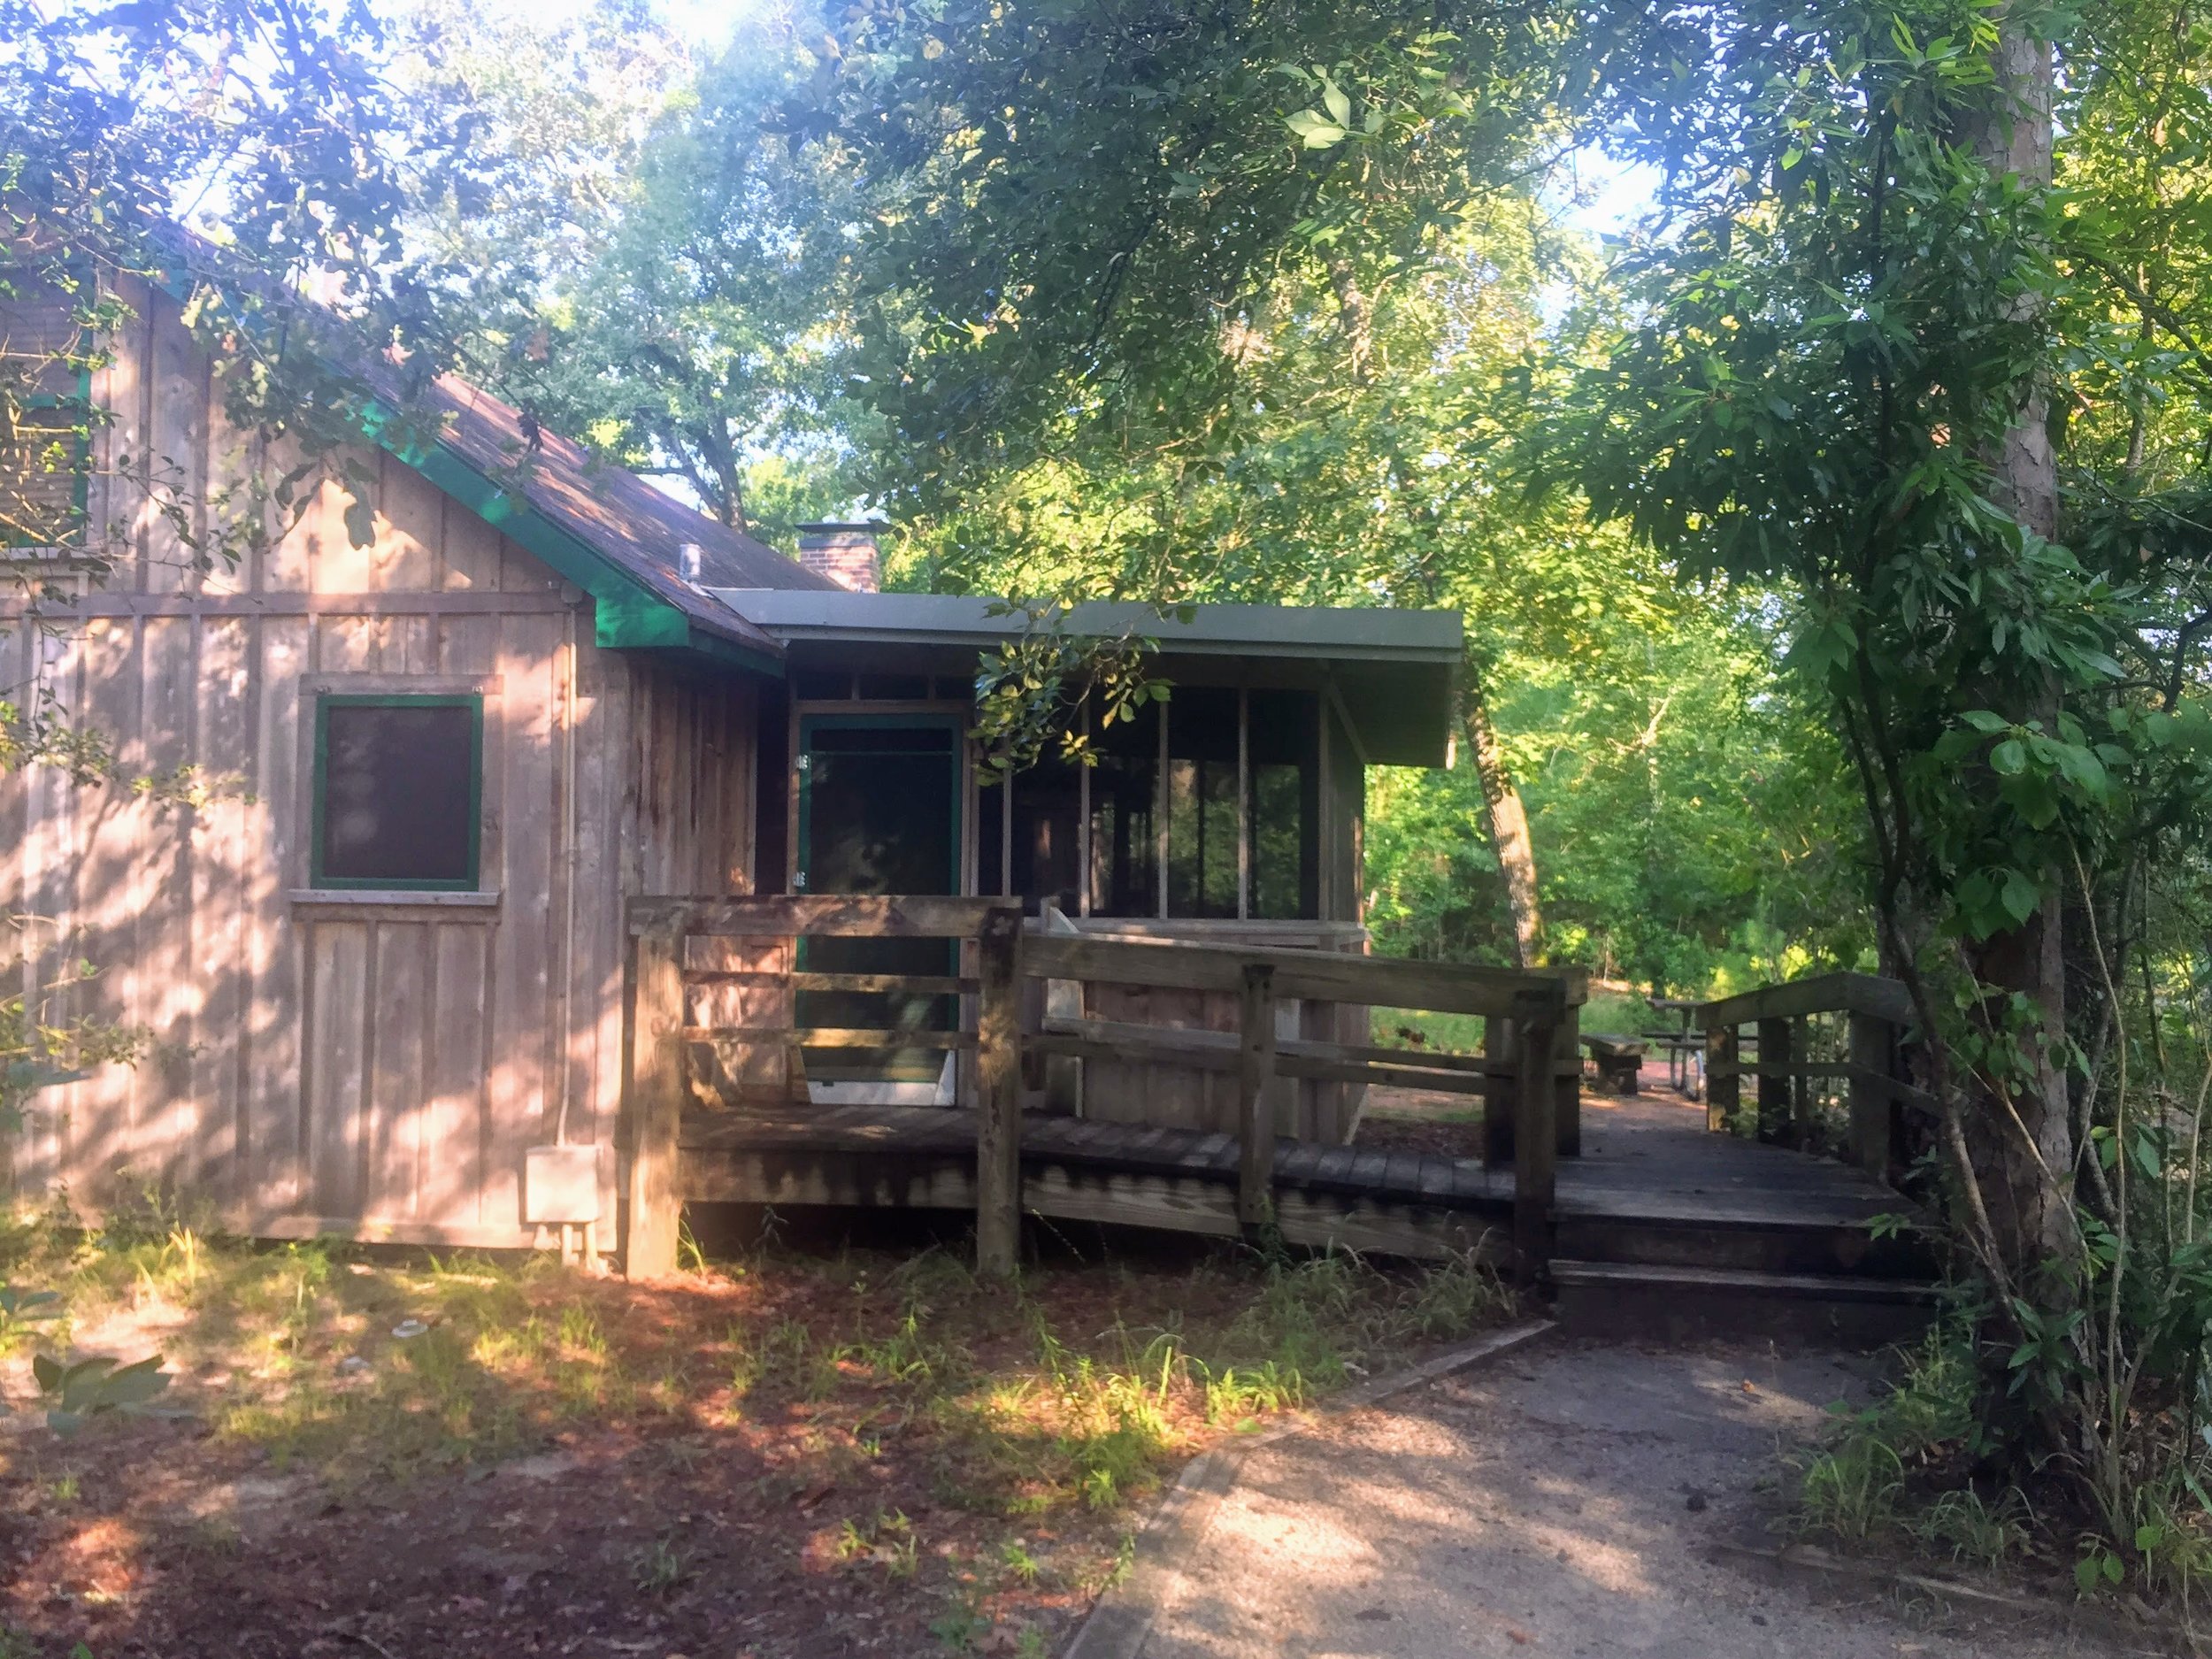
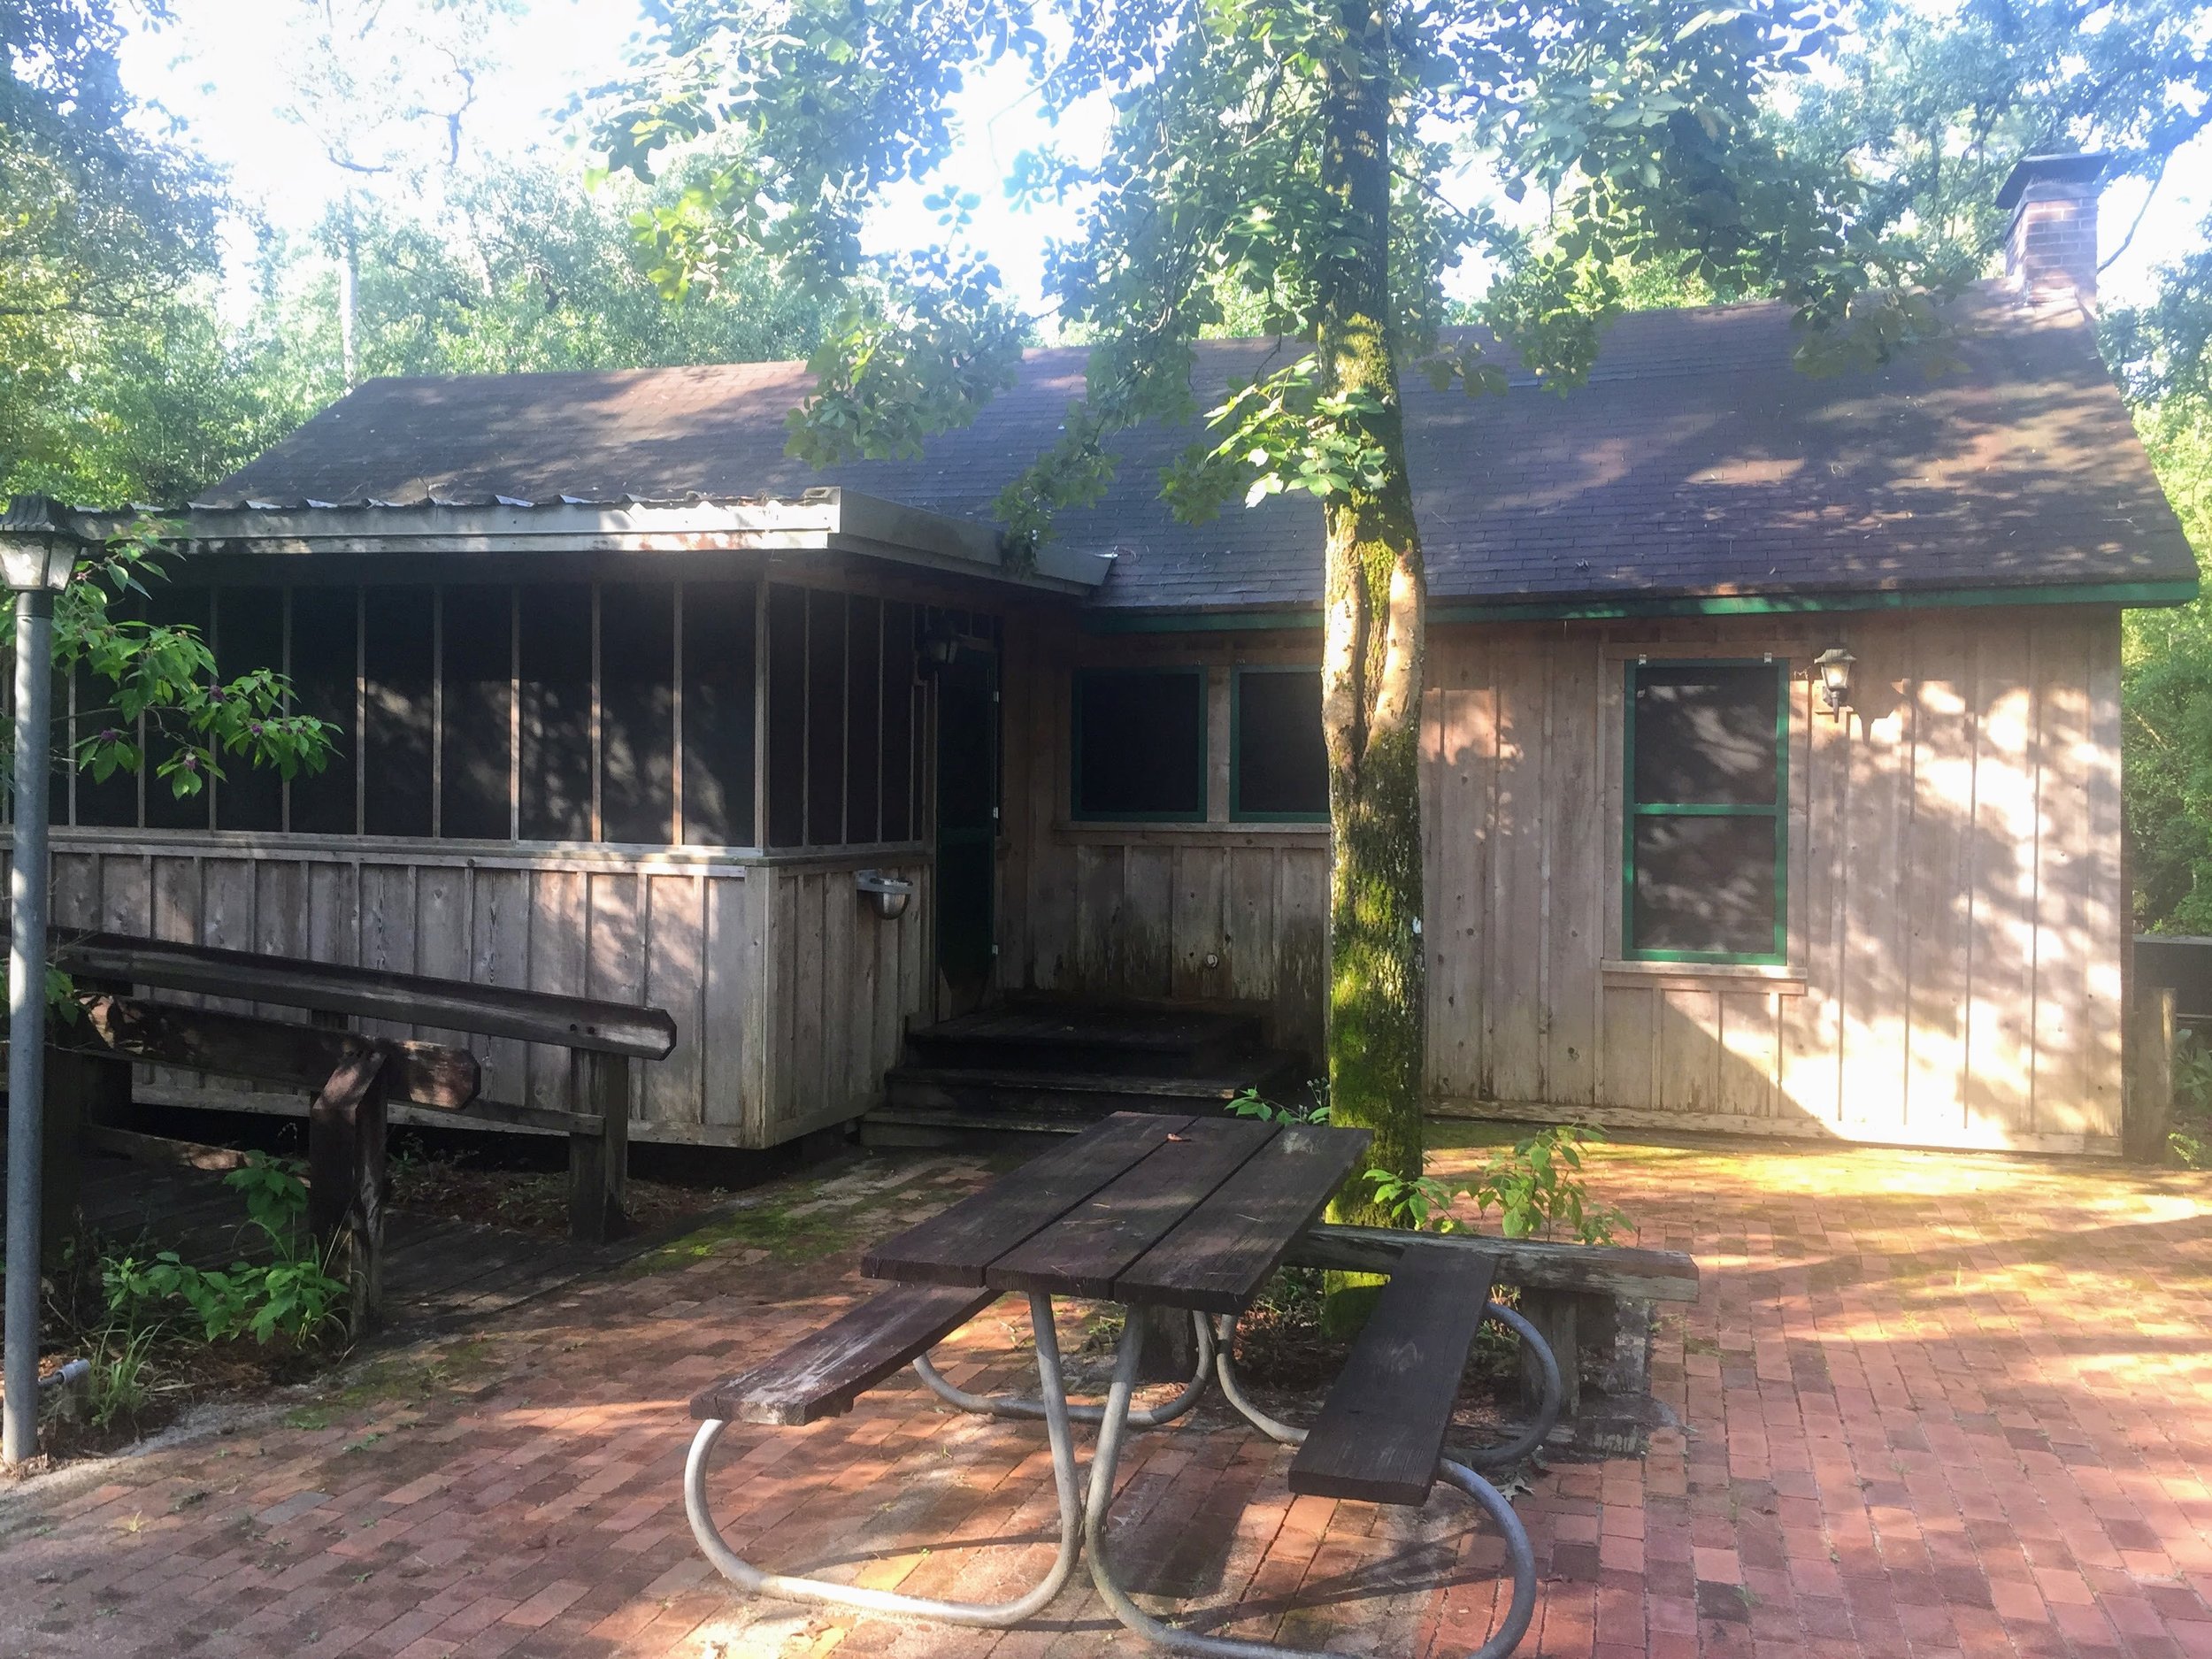
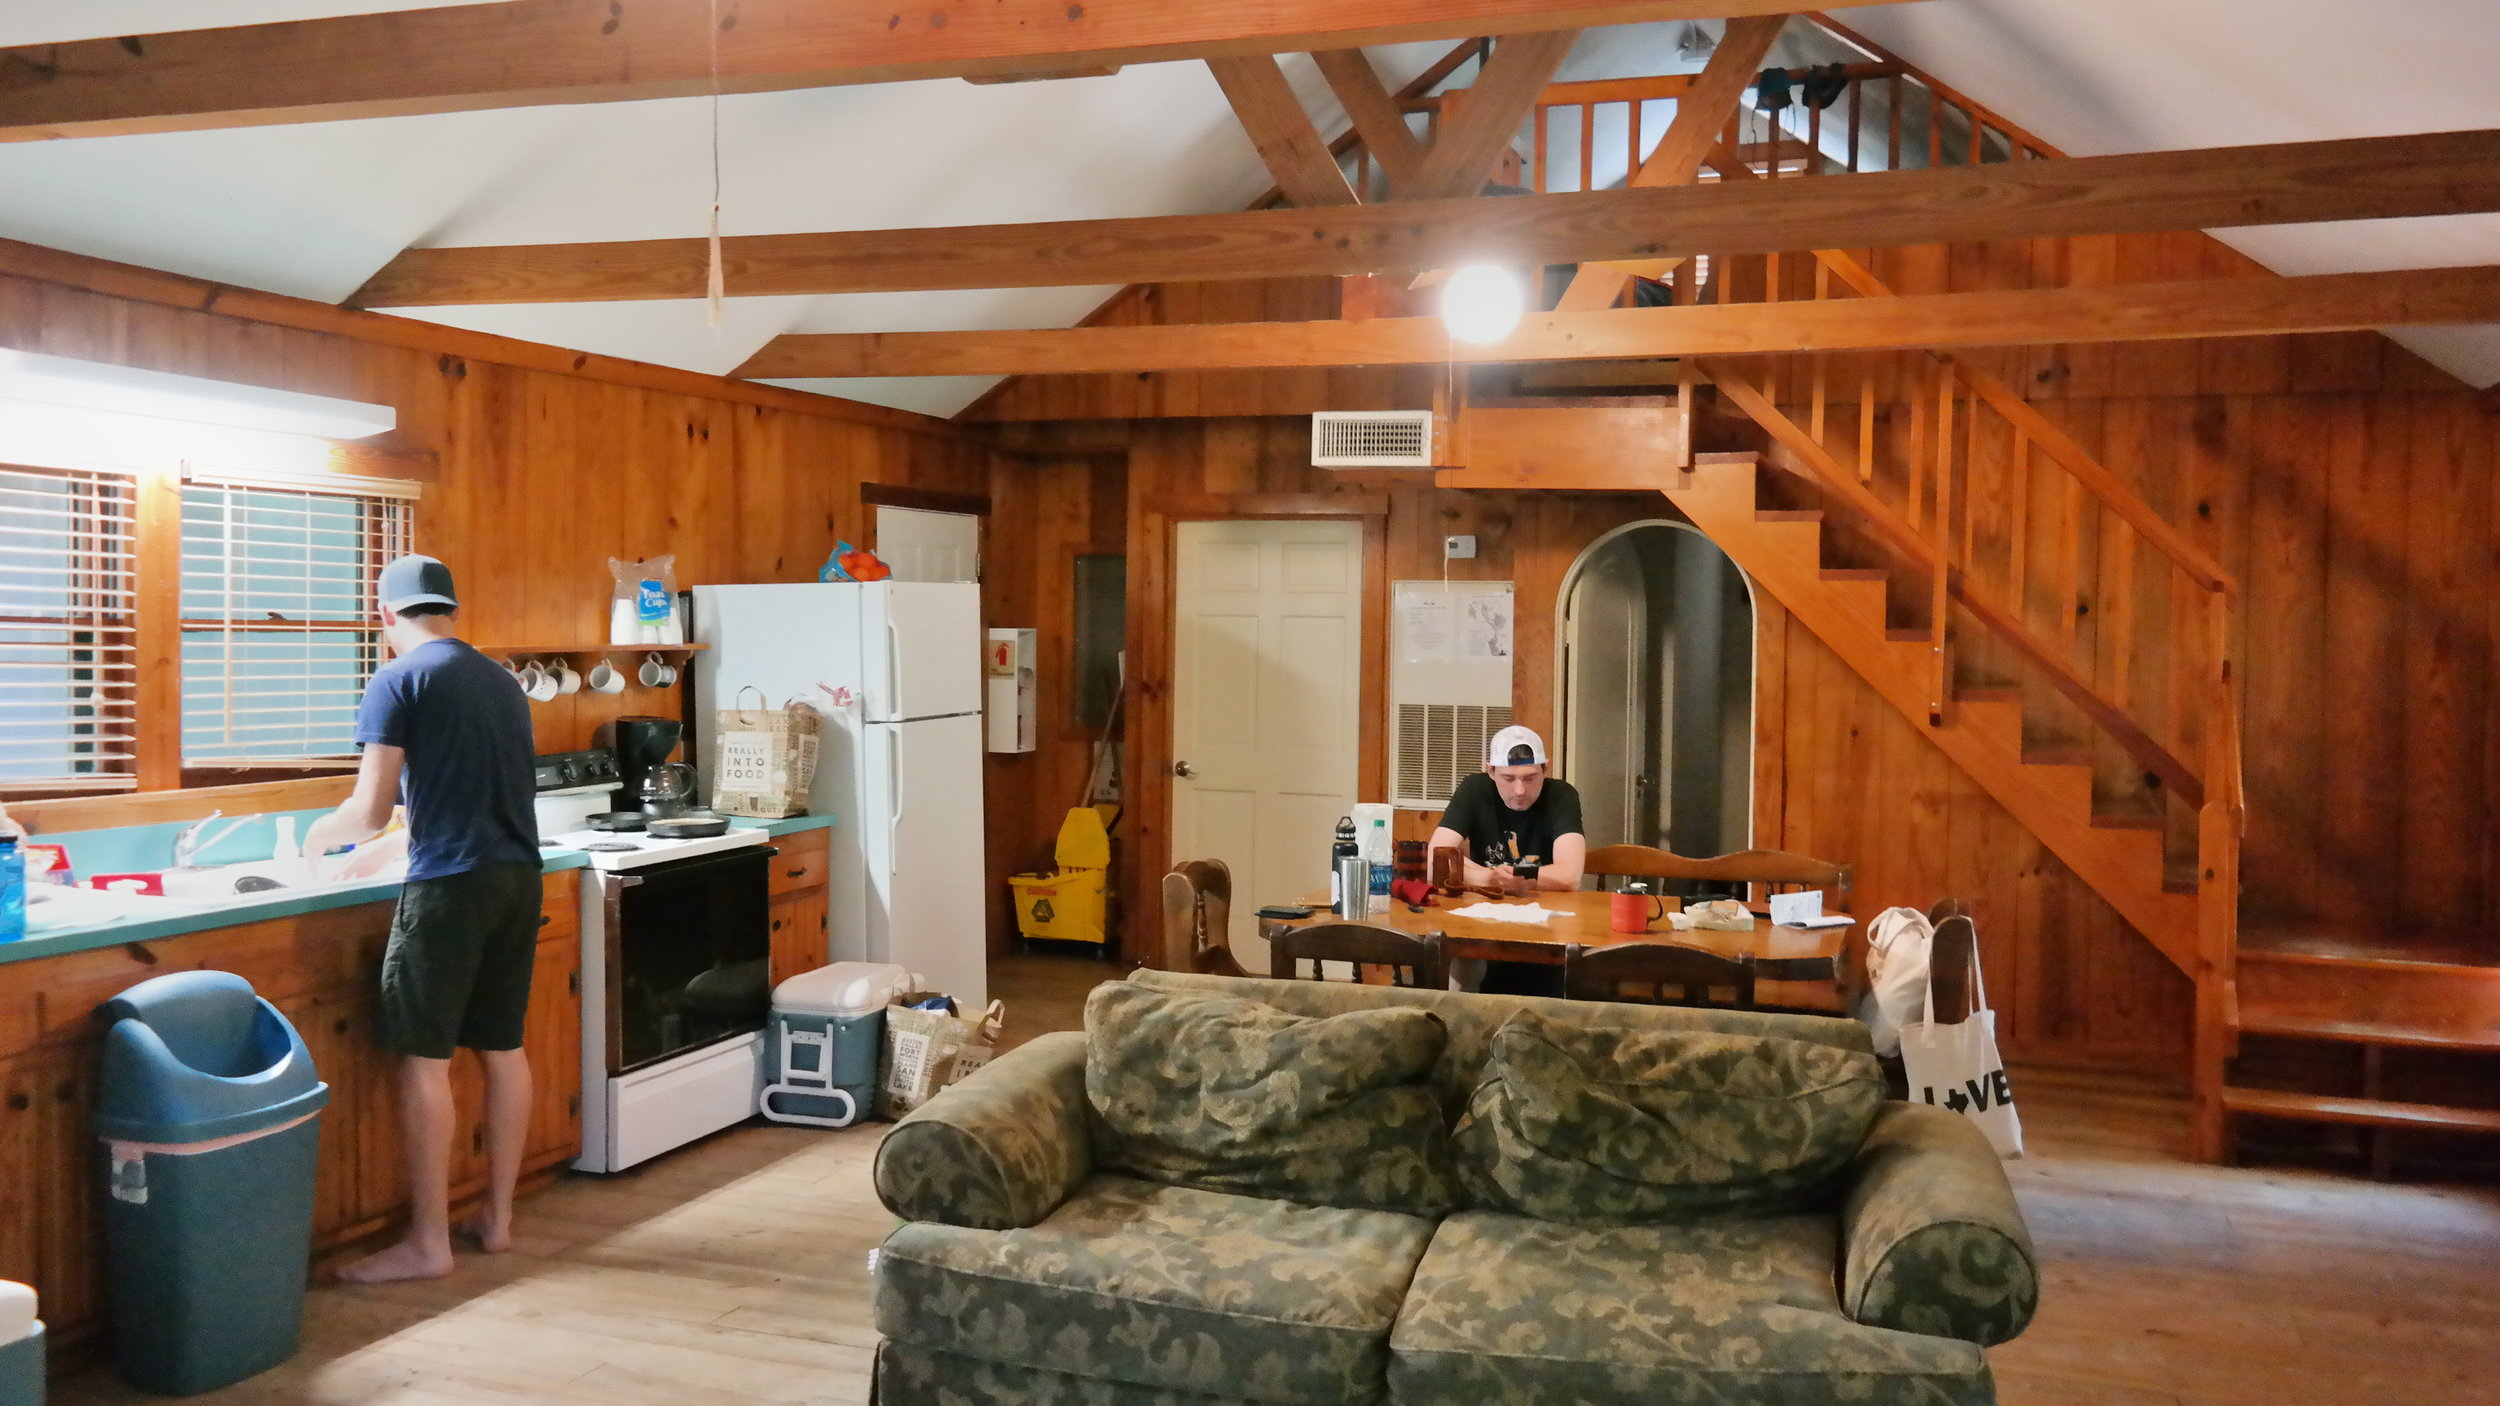
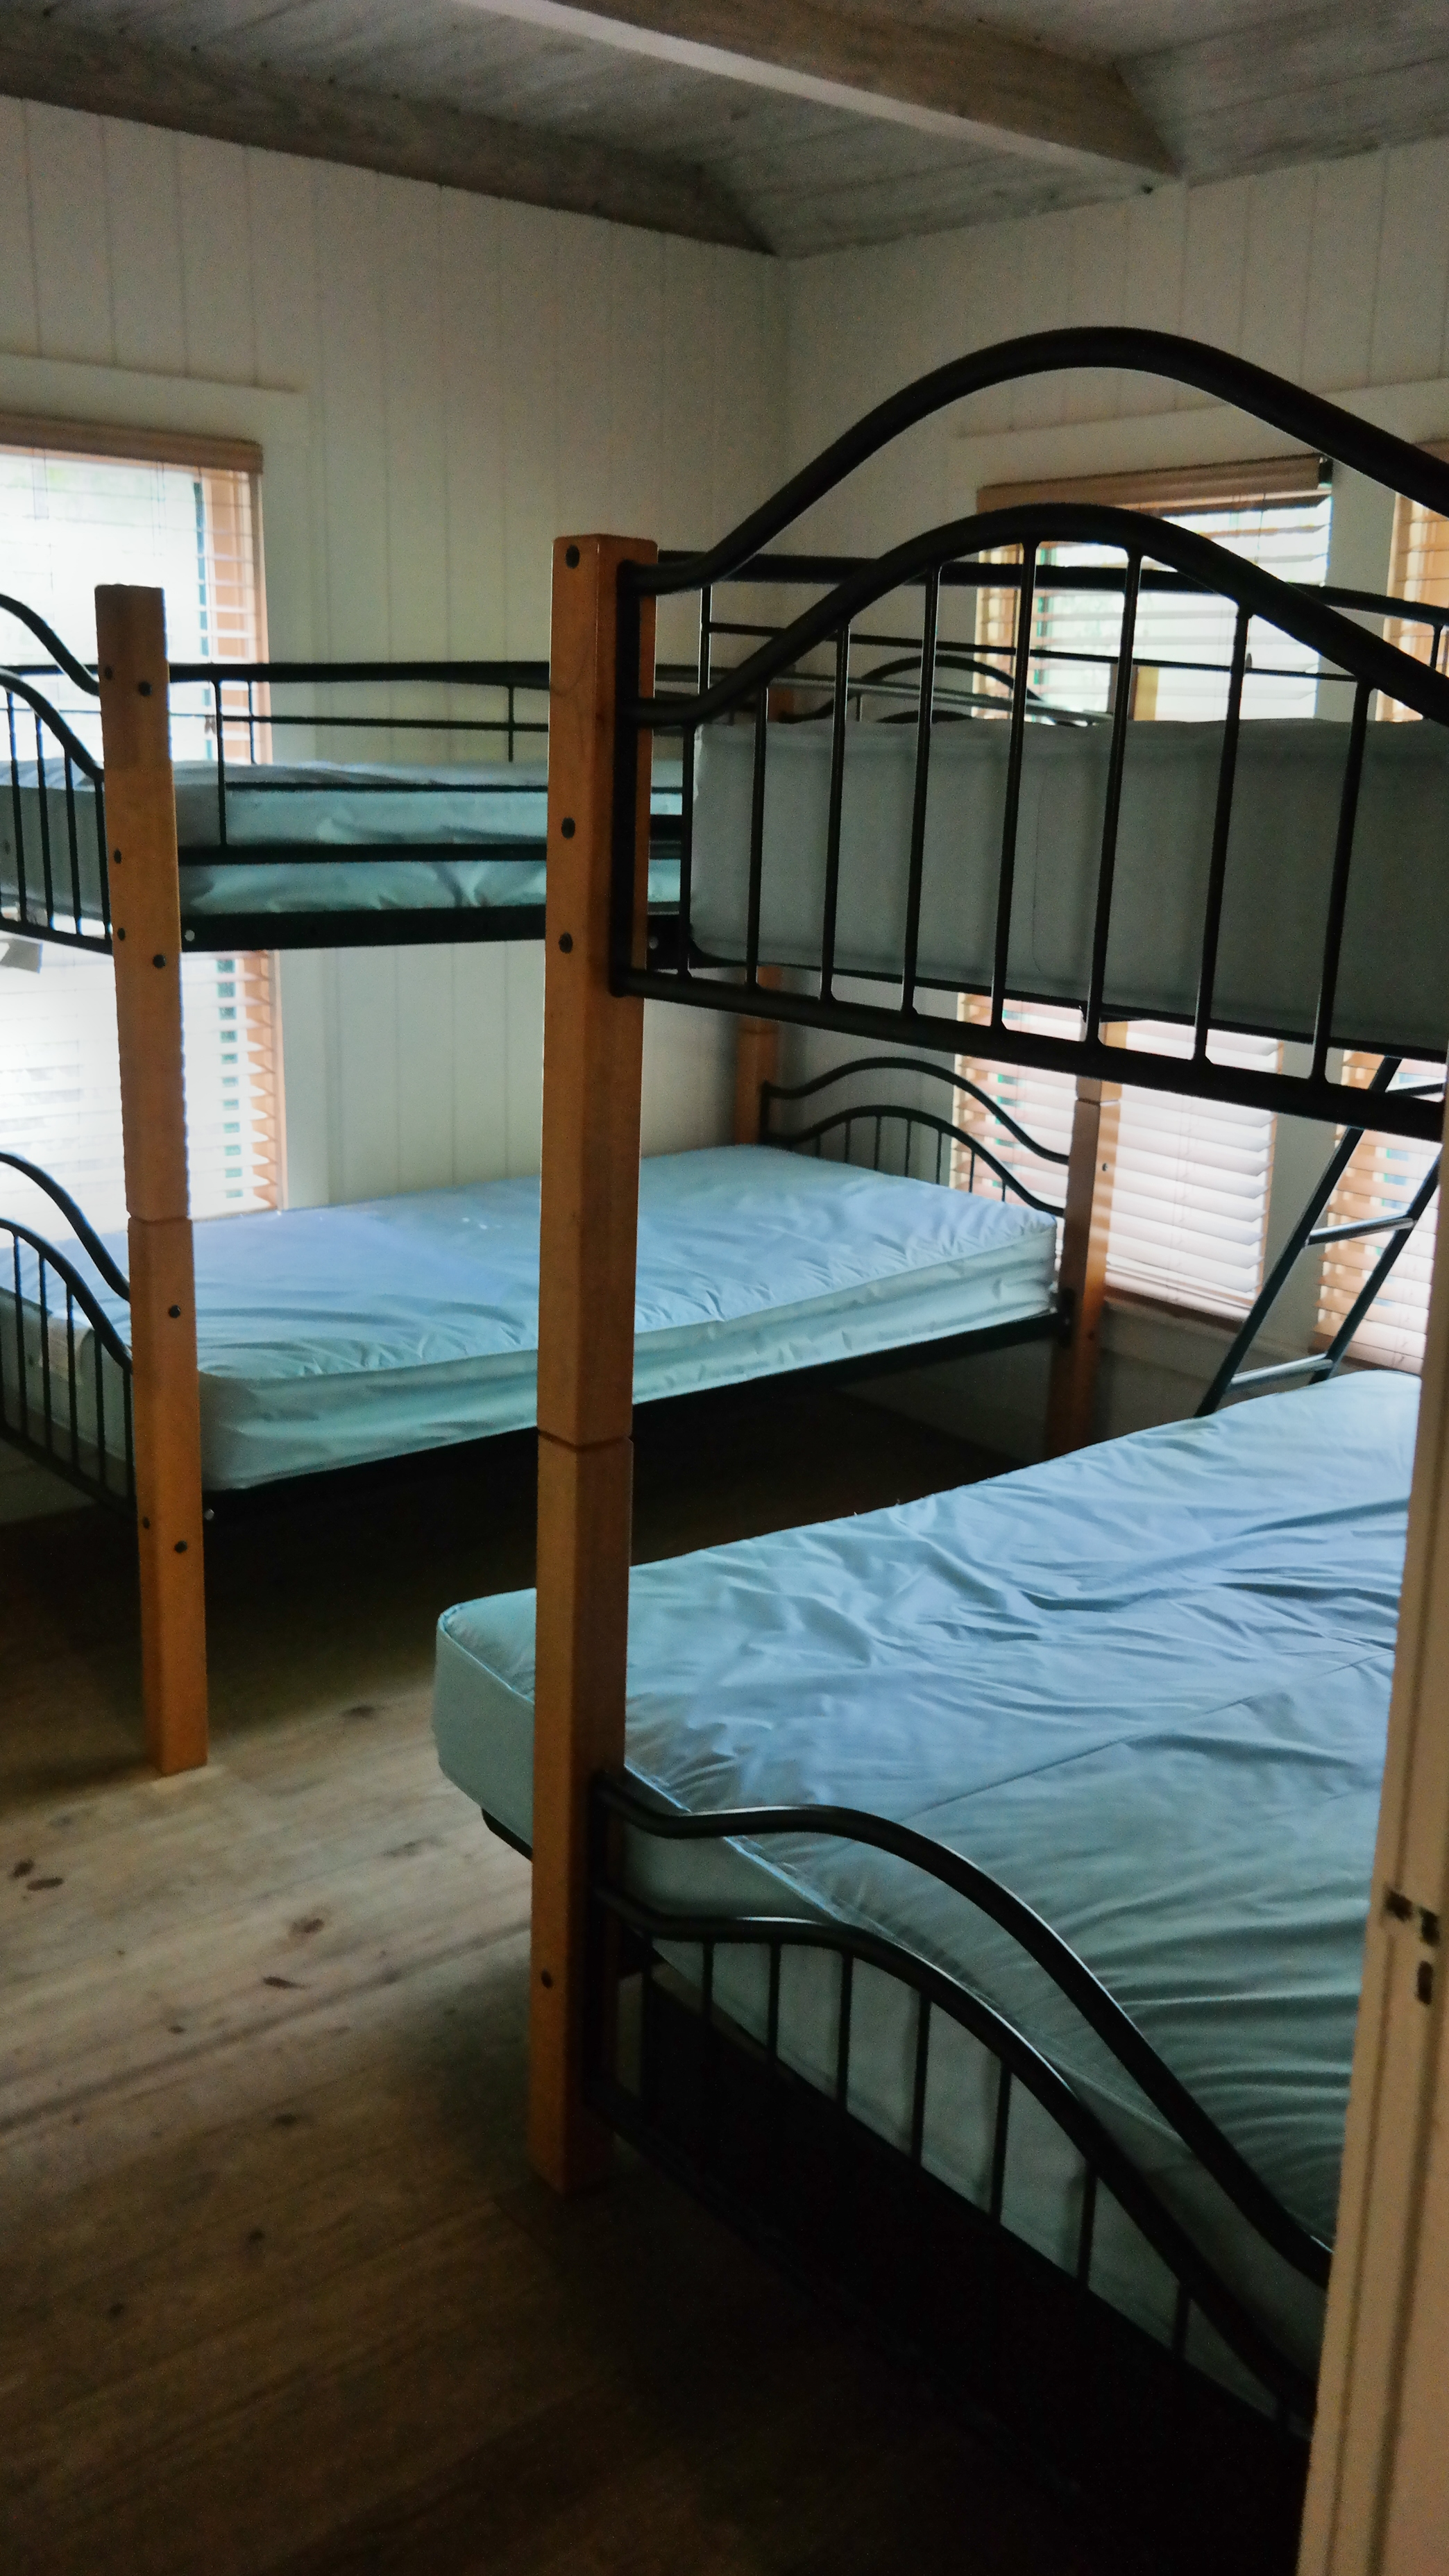
We really enjoyed our stay in the cabin at Village Creek. It has a full kitchen, bathroom, and sleeps up to 8 people. Best of all, it has AC! Mattresses are provided so all you have to bring is your bedding. The screened in porch was a great way to spend more time outside while staying out of reach of the bloodsuckers. It's also super affordable at only $80 a night. 

Happy Campers: Tips for Beginner's Part 2

There is so much information out there about camping equipment and it can be a bit overwhelming for would-be campers. Don't let them fool you; camping is not that complicated. There are a few basics that you need and everything else is a nice-to-have. In this post, I've included a few tips for newbies who are thinking about setting up camp for the first time.

Borrow or Rent equipment

Camping is a cheap activity but only after you've stocked up on all the equipment you need. It can be tough to spend a bunch of money up front if you're not even sure if you're going to like it or do it often. I recommend either borrowing equipment from a generous friend or renting the equipment. Companies like Logistics in Nature (serves Austin/Houston area) and Lower Gear will rent equipment for you for a fraction of what it would cost you to go out and buy all your own.

If you do decide to buy equipment rather than borrowing or renting, don't do what I did and just go buy the cheapest of each item. If you enjoy camping, you'll just end up re-buying everything because you bought crappy stuff the first time around. Take the time to do a little research first. I often use Outdoor Gear Lab to help make decisions in this department and they haven't steered me wrong yet.

Some of my must have gear for each camping trip. My new Rumpl puffy blanket is amazing for Texas camping; it keeps you warm but isn't as hot as a sleeping bag can be. 

Some of my must have gear for each camping trip. My new Rumpl puffy blanket is amazing for Texas camping; it keeps you warm but isn't as hot as a sleeping bag can be. 

Don't skimp on the Sleeping Pad

Just because you're sleeping outside doesn't mean you have to be uncomfortable. A good sleeping pad will go a long way to help you catch all the zzzz's. Skimp on the sleeping pad and you'll find yourself crawling out of your tent in the morning having not caught a wink, swearing off camping and hoping your campmates have already started on the coffee. Speaking of coffee, that's another piece of vital camping equipment I wouldn't be caught without; but that's for another post.

I've tried a few different sleeping pads and I've landed on the Big Agnes Q-Core. It's super light, compact, and is about four inches thick when inflated. I'm a side sleeper so the extra cushion keeps my hips from digging into the ground. My only complaint is that it's a bit loud when you move around on it. If you want to read more about selecting the right sleeping pad for you, I recommend checking out REI's post here.

When I'm car camping, I bring a real pillow as well. Ok, maybe sometimes more than one pillow. That's one of the upsides of car camping! Bring all the pillows!

Let there be light!

It's sometimes easy to forget since we live most of our lives under fluorescent lighting, but it actually gets dark outside. Like, really dark. Like, holy crap that bush just moved are we about to get attacked by a pack of rabid coyotes who were drawn by the smell of our delicious hot-dogs dark. Bring a headlamp, and you'll easily be able to tell that the rabid coyotes are actually just a small raccoon who is trying to steal your dog's food from under the picnic table. Pro tip: most headlamps have a regular light and a red light on them; use the red setting to avoid blinding your fellow campers.

It's also a huge pain to set up camp once it's already dark, especially if you aren't practiced. Get to camp before dark so you have plenty of sunlight and don't have to rely on headlamps or flashlights.

Learn as you go

I can give you all the tips in the world, but you're still going to forget the toilet paper, the matches, or some other piece of equipment. Don't stress about it. Part of the fun is developing your own camping style and learning your own tricks. The bottom line is you don't need to be an expert to camp. You belong outside! Get out there. 

Hammocks are a great addition to your campsite! 

Hammocks are a great addition to your campsite! 

Happy Campers: Tips for Beginners Part 1

Camping sounds like it would be simple, and in many ways it is. You literally go outside, bring some food and water, pitch a tent and voila, you're officially camping! Realistically, it's a bit more complicated than that and can be daunting if you're a first timer. Not knowing where to go, what type of equipment to buy, or even basic camping etiquette can be enough to keep people from joining the camping club. That, my friend, is a travesty. I hope my Happy Campers series of posts will help you overcome any anxiety and answer any questions you may have about your first camping experience.

In this post, we'll answer the question: What type of camping do you want to do? If you're new to camping and just wanting to explore the outdoors, you're likely thinking about what I've dubbed car camping. I'll explain what I mean by that below. However, I still think it's useful to know about the different types of camping so you can keep them in mind when you buy equipment. I'll cover a basic equipment list, camping etiquette, and more in later posts.

Furry friends and yard games are some of the extras you can bring along when car camping. 

Furry friends and yard games are some of the extras you can bring along when car camping. 

Car Camping aka Glamping

Roughing It Rating: 3/10

Car camping is the most casual of the three types of camping I'm discussing in this post. You can pack up your car with as much crap as it will fit and drive it right up to your campsite. Will we need two packs of blue gatorade this weekend? SURE throw it on in! You don't have to worry too much about weight or space and you can afford to bring luxuries like a huge tent and queen sized air mattress. You usually set up your tent within 25 feet of your car. Many state park campsites will have water spigots at each site and toilets and showers within walking distance. It's basically like hanging out in your house but you get to see the stars and have a campfire instead of watching tv.

Go car camping if:

  • You're new to the outdoors and camping and want to get your feet wet
  • You want certain comforts like running water and toilets
  • You don't mind if there are other campers nearby
  • You have heavy equipment or luxury items that you don't want to carry far (24 pack of beer anyone?)
  • You want to bring your dog or small children (note: always check with your park ahead of time since pet allowance will vary. Some parks also allow dogs in their hike-in and backcountry campsites)
Glamping at it's finest with our Tepui Rooftop Tent. It's amazing y'all. #teamtepui 

Glamping at it's finest with our Tepui Rooftop Tent. It's amazing y'all. #teamtepui 

Walk-in or Hike-in Camping

Roughing It Rating: 5/10

Walk or Hike in campsites are generally a far enough distance from where you park your car that you don't want to have to make multiple trips. I've been to parks where the distances vary from a couple hundred yards to up to 3 miles. Hike in campsites often don't allow fires so you'll need to bring enough water and food that doesn't require cooking (or bring a portable stove like a Jetboil). You've also got a 50/50 chance that there is a composting toilet nearby. Be prepared to pee in the woods (Ladies, I've got a post coming for you specifically about how to do that without peeing on your shoes).

Go Hike-In camping if:

  • You want to experience nature away from everyday comforts
  • You'd like a bit more privacy from other campers
  • You don't mind carrying your gear the distance to your campsite and back
  • You're fine not having running water or toilets (note: some hike-in campsites will have composting toilets nearby)
  • You're ok with not having a fire

Backcountry Camping:

Roughing It Rating: 8/10

On the scale of Glamping to Roughing It, backcountry camping is full on Rough City. You're living out of your pack on these trips and potentially hiking long distances each day between campsites. Does a bear shit in the woods? Yes, and so will you on this type of camping trip. You might even get to see a bear. I wouldn't recommend backcountry camping for your first camping experience; however, I would argue the rewards of this type of camping are far higher than the other two.

Go Backcountry Camping if:

  • You want to experience the outdoors in all it's glory
  • You want privacy and are ok with not seeing another person outside of your camping party for long periods of time
  • You're ready and willing to carry everything you'll need in your pack
  • You feel comfortable with basic outdoor skills like food storage and Leave No Trace principles

Stay tuned for my future Happy Camper posts where I'll cover the basics for each of the above types of camping.No matter what type of camping you decide to do, just get out there.

Nature is calling. 

NatureisCalling.jpg

Hiking the Milford Track


We had the opportunity to hike the Milford Track at the end of our honeymoon to New Zealand in November. It was without a doubt the highlight of our trip (Yes, it even surpassed our visit to The Shire.). Aside from the long distance you'll have to travel to get there, the hike is actually very accessible and easy to do if you have all the information you need to plan it. Hopefully this post will help with that part! 

The Milford Track is a 53.5km (33.2 mile) hike through Fiordland National Park on the southern tip of New Zealand. For 4 days and 3 nights, you tramp through some of the most breathtaking scenery in the country, which is saying something because damn, New Zealand is a ridiculously beautiful place. The track, heralded as the most popular of New Zealand's nine Great Walks, takes you through rainforest, over a mountain pass, and past countless waterfalls and bubbling streams. 

The start of the Track!

When to Go

The Great Walks season is from end of October to beginning of May each year. The official season for 2017 is October 25th through May 4th. For those of us on the opposite side of the world, remember that Winter and Spring for us is Summer and Fall for New Zealand.

You can also hike the Milford Track in the off season, but the hut facilities are greatly reduced and there are additional safety concerns (like avalanches) to consider. The Department of Conservation suggests that only experienced and well equipped people attempt the track in the off season.

This is a popular hike so book early to avoid disappointment. For our trip at the beginning of November, we made our reservations in mid-May. At the time of our reservations, there were only a couple spots left in each hut. The Department of Conservation (DOC) hasn't released the dates that reservations will open yet, but they'll be posted here.

Day 2 of the hike, surrounded by waterfalls on both sides. 

Why walk the track independently versus taking a guided trip?

You can walk the track independently or pay large amounts of money to take part in a guided tour. The guided tours will run you between $2,000 and $3,200 (NZD). They're easier and more comfortable since your food is provided (lighter packs!) and you stay in private huts. But where's the fun in that?

Walking the track independently will cost under $500 a person. This includes the cost of transportation to and from Queenstown and food for four days. You'll want to add another $200 or so if you need car relocation services.

Whether you pay for the guided tour or not, everyone gets to hike the same trail and see the same amazing scenery. For me, the main appeal of a guided tour is the convenience of not having to plan anything; however, hiking independently only takes a little extra effort and saves mucho moolah.

Logistics

Getting to and from the trailhead is by far the hardest part of the hike. The DOC actually has a fantastic website with all of the information you need, but I still managed to get confused while I was booking this trip. I've attempted to simplify all the relevant information for you in the Itinerary and Reservation sections below.

Itinerary

Below is what your itinerary will look like. You can only hike the Track in one direction. If you're not coming from Queenstown like we were, then simply substitute your previous location where it says Queenstown. 

Day 1:
Queenstown > Te Anau Downs
Te Anau Downs Water Taxi > Trailhead
Trailhead > Clinton Hut (5km, 3 miles)

Day 2:
Clinton Hut > Mintaro Hut (16.5km, 10 miles)

Day 3:
Mintaro Hut > Dumpling Hut (14 km, 8.6 miles)

Day 4:
Dumpling Hut > Sandfly Point (18km, 11 miles)
Ferry from Sandfly Point > Milford Sound Village
Milford Sound Village > Queenstown or wherever you're going next!

Reservations

Here is a list of all of the reservations you'll need to complete the trip, in the order you should complete them:

  1. Hut reservations. You must make a reservation through the DOC website for all 3 huts. 
  2. Ferry from Te Anau Downs to the start of the trailhead (about an hour ferry ride). Note: Both ferry rides (see #3) can be booked at the same time that you book the huts. To simplify things and to ensure you get the ferry times you want, I highly suggest booking at the same time. If for some reason you don't want to take the DOC run ferry, you can book this leg of the trip through Fiordland Water Taxi.
  3. Ferry from Sandfly Point (end of trail) to Milford Sound Village (a 5 minute ferry ride). As far as I know, this can only be booked through the DOC. Again, I suggest booking this at the same time you book the huts. 
  4. Bus to Te Anau Downs. The Tracknet bus is great and syncs it's arrival times with the ferry departure times. The bus from Queenstown to Te Anau Downs also makes a stopover at the Te Anau DOC Visitor Centre so passengers can collect hut and boat tickets.
  5. Bus from Milford Sound Village to wherever you're going after the hike. 

What if I'm driving instead of taking the bus?

We found the Tracknet bus system to be extremely easy and didn't want to pay for a rental car that we weren't going to use for four days, but if you are renting a car, you have a few different options. You can pay for a car relocation service such as Easy Hike. They will relocate your car from Te Anau Downs to Milford sound so you can pick it up at the end of the hike. This will run you about $225. You can also park your car at Te Anau Downs and then book the bus from Milford Sound to Te Anau. Our bus stopped at Te Anau Downs on the way to Te Anau for those who left their cars. This stopover isn't listed on Tracknet's website, so I suggest calling to confirm if you want to use this option.

View from trail on Day 2

What about the huts?

There is no camping allowed on the track. Honestly, camping probably wouldn't be very enjoyable because of the exorbitant amount of rain the area gets. Instead of tents, you stay in three different huts along the trail.

The huts are surprisingly comfortable. During the Great Walks season each hut includes bunks with mattresses, clean water supply, flushing toilets and sinks (no showers), and gas stoves for cooking. The sleeping area is communal, so pray you don't get a snorer next to you like we did on the first night. There is also a resident DOC ranger at each hut to give you weather updates and answer any questions. 

View from Clinton Hut during a brief break in the rain. 

View of the moon from the front porch of Mintaro Hut.

What to bring

The DOC website has a great equipment list for the hike. I'll stress a few things that I think were extra important to have on hand.

Waterproof matches or lighter: The gas stoves do not have starters on them so you must bring your own fire. Unfortunately, this was the one thing we forgot. We had to spend the entire trip begging matches off other hikers.

Sandals/Camp shoes: You're not allowed to wear your boots in the huts and you definitely want to air out your smelly feet after hiking all day.

Ear Plugs and/or Ear Buds: While the DOC ranger encouraged any snorers to sleep in the kitchen area, we still ended up with a horrible snorer in our bunk room the first night. I have seriously never heard anyone snore this loud in my life. Even my audiobook wouldn't drown him out.

Trekking Pole(s): This made coming down the pass on the third day way easier than it would have been without. It was also helpful in our attempts to maneuver around huge puddles.

Waterproof EVERYTHING: It rains here. A lot. A lot a lot. Definitely make sure your boots are waterproof. I also recommend a good rain jacket, waterproof pants, and a rain cover for your pack.

Sandfly Repellant: These tiny bugs come straight from hell and will not only annoy the crap out of you by flying around your face but will bite you too. The bites often don't show up and get itchy for a few days either, so they're extra sneaky. Definitely bring sand fly repellant and apply multiple times a day. You'll be especially glad when you get to Sandfly Point at the end of the hike. 

Something to do in the evenings: We finished our hike before 3pm each day. If you have good weather, you can spend the afternoons exploring the areas around the hut. If not, you're stuck in the hut. Bring a book (we both brought our Kindles), cards, or something else to occupy your time just in case.

Mackay Falls on the 4th day of the hike. 

Here we are at Sandfly Point. You can't tell because they're so tiny but there are swarms of sandflies all around us.

Other tips

Don't miss Sutherland Falls: On the third day, it might be tempting to skip the side track that leads to Sutherland Falls and head straight for Dumpling Hut. Don't do that. Sutherland Falls is the highest waterfall in New Zealand at 580 meters, and is simply amazing. It's well worth the roughly 45 minute detour, even if you're tired. You'll be glad you did it.

View of Sutherland falls. It's really hard to tell the scale from the photos but it is massive! 

View from our Riverview Chalet at Milford Sound Lodge

After the Hike: If you'd like to treat yourself after the hike, we recommend staying in one of the Chalets at the Milford Sound Lodge. We stayed two nights in a Riverside Chalet and enjoyed it immensely. The view of Cleddau River from the King sized bed in our private suite might have been the best part of our whole honeymoon outside of the hike. It was especially rewarding after spending the previous three nights in the huts. It's the only accommodation in the area so you should book at the same time you book your hike.

Make your pack lighter: If you're visiting New Zealand for an extended period of time like we were and aren't renting a car, you might be looking to temporarily off-load some of the extra stuff you have in your pack before you hike for 4 days (e.g. jeans, nicer shoes, etc.). We ended up leaving stuff with our hotel in Queenstown and coming back for it later, but we also noticed the Queenstown Airport had lockers we could have used that were not very expensive.

Helpful Resources:

On Mackinnon Pass, elevation 1,154 meters

Animal Encounters of the Raccoon Kind

Coca, our Catahoula Pitbull mix, sighs deeply as she settles into the dirt on the far side of our campfire. She's close enough to feel the warmth of the fire but far enough away so the smoke doesn't get into her spotted nose. It's now fully dark, and the four of us (myself, my husband Taylor, and two of our best friends, Garret and Justin) all have our eyes pointed towards the night sky. We're extremely lucky that it's a clear night and the stars are shining bright. We're all trying to point out constellations that we know...which isn't many. We definitely see the Big Dipper and maybe something that might be Orion's Belt. Either way, it's beautiful and calming, a sight that we don't get to see much of back home in Austin.

We're thoroughly enjoying the night. The fire is mesmerizing. We take turns staring into it and gazing up to appreciate the stars. The conversation is good. At some point, we hear Coca behind us. She's pushing her metal bowls around which we've left full of water and dog food under the nearby picnic table. The noise intensifies.

“Wow, Coca must be hungry,” Justin comments. There's a pause as we all slowly turn our heads away from the noise to the complete opposite direction where Coca still lies, curled up in a ball and almost asleep. Then it dawns on us, and we all quickly turn our headlamps on, searching the darkness under the picnic table.

The Raccoon freezes. We freeze. Its eyes glow creepily in the light from our headlamps. It's been eating the dog food that we left for Coca not ten feet away from us. A few seconds go by where no one moves. Then, Mr. Raccoon turns tail and runs, his fat butt swaying back and forth as he goes. We can tell this raccoon is used to the late night snacks it steals from the campers in this park.

He gives us one final look over his shoulder as he disappears into the darkness.
 

Coca, our Catahoula Pitbull Mix

Colorado Bend State Park

Nothing beats the feeling of packing up the car and heading out for a weekend of camping on a beautiful Spring day. Windows down, dog panting in the the backseat, we played hooky from work on Friday to head out to nearby Colorado Bend State Park for the first time. As we pulled up to the park entrance around 2pm, a line of cars and two park rangers greeted us. The park was full and closed for day-use until at least 4pm. Looking around at the cars pulled over on the side of the road who were waiting to get into the park, we could see a lot of surly faces. Thankfully, our camping reservations had secured us entrance. We breathed a sigh of relief as the entrance gate swung open for us and we left those unhappy non-campers in our dust.

Our first trip to Colorado Bend State Park did not disappoint. Just under two hours Northwest of Austin, the short drive is more than worth it. We couldn't believe what we had been missing out on all this time. The park offers some great hiking (our favorite outdoor activity) as well as a range of other activities including fishing, swimming, paddling, bird watching, and even guided cave tours. Located in Bend, Texas, the park literally sits on a bend in the Colorado River. Many of the campsites offer a beautiful view of the slow moving river backed by steep, rocky hills. Every so often we could see a Yucca plant in bloom. The huge yellowish-white blooms, combined with the various other wildflowers and butterflies dotting the landscape, really made it feel like Spring.

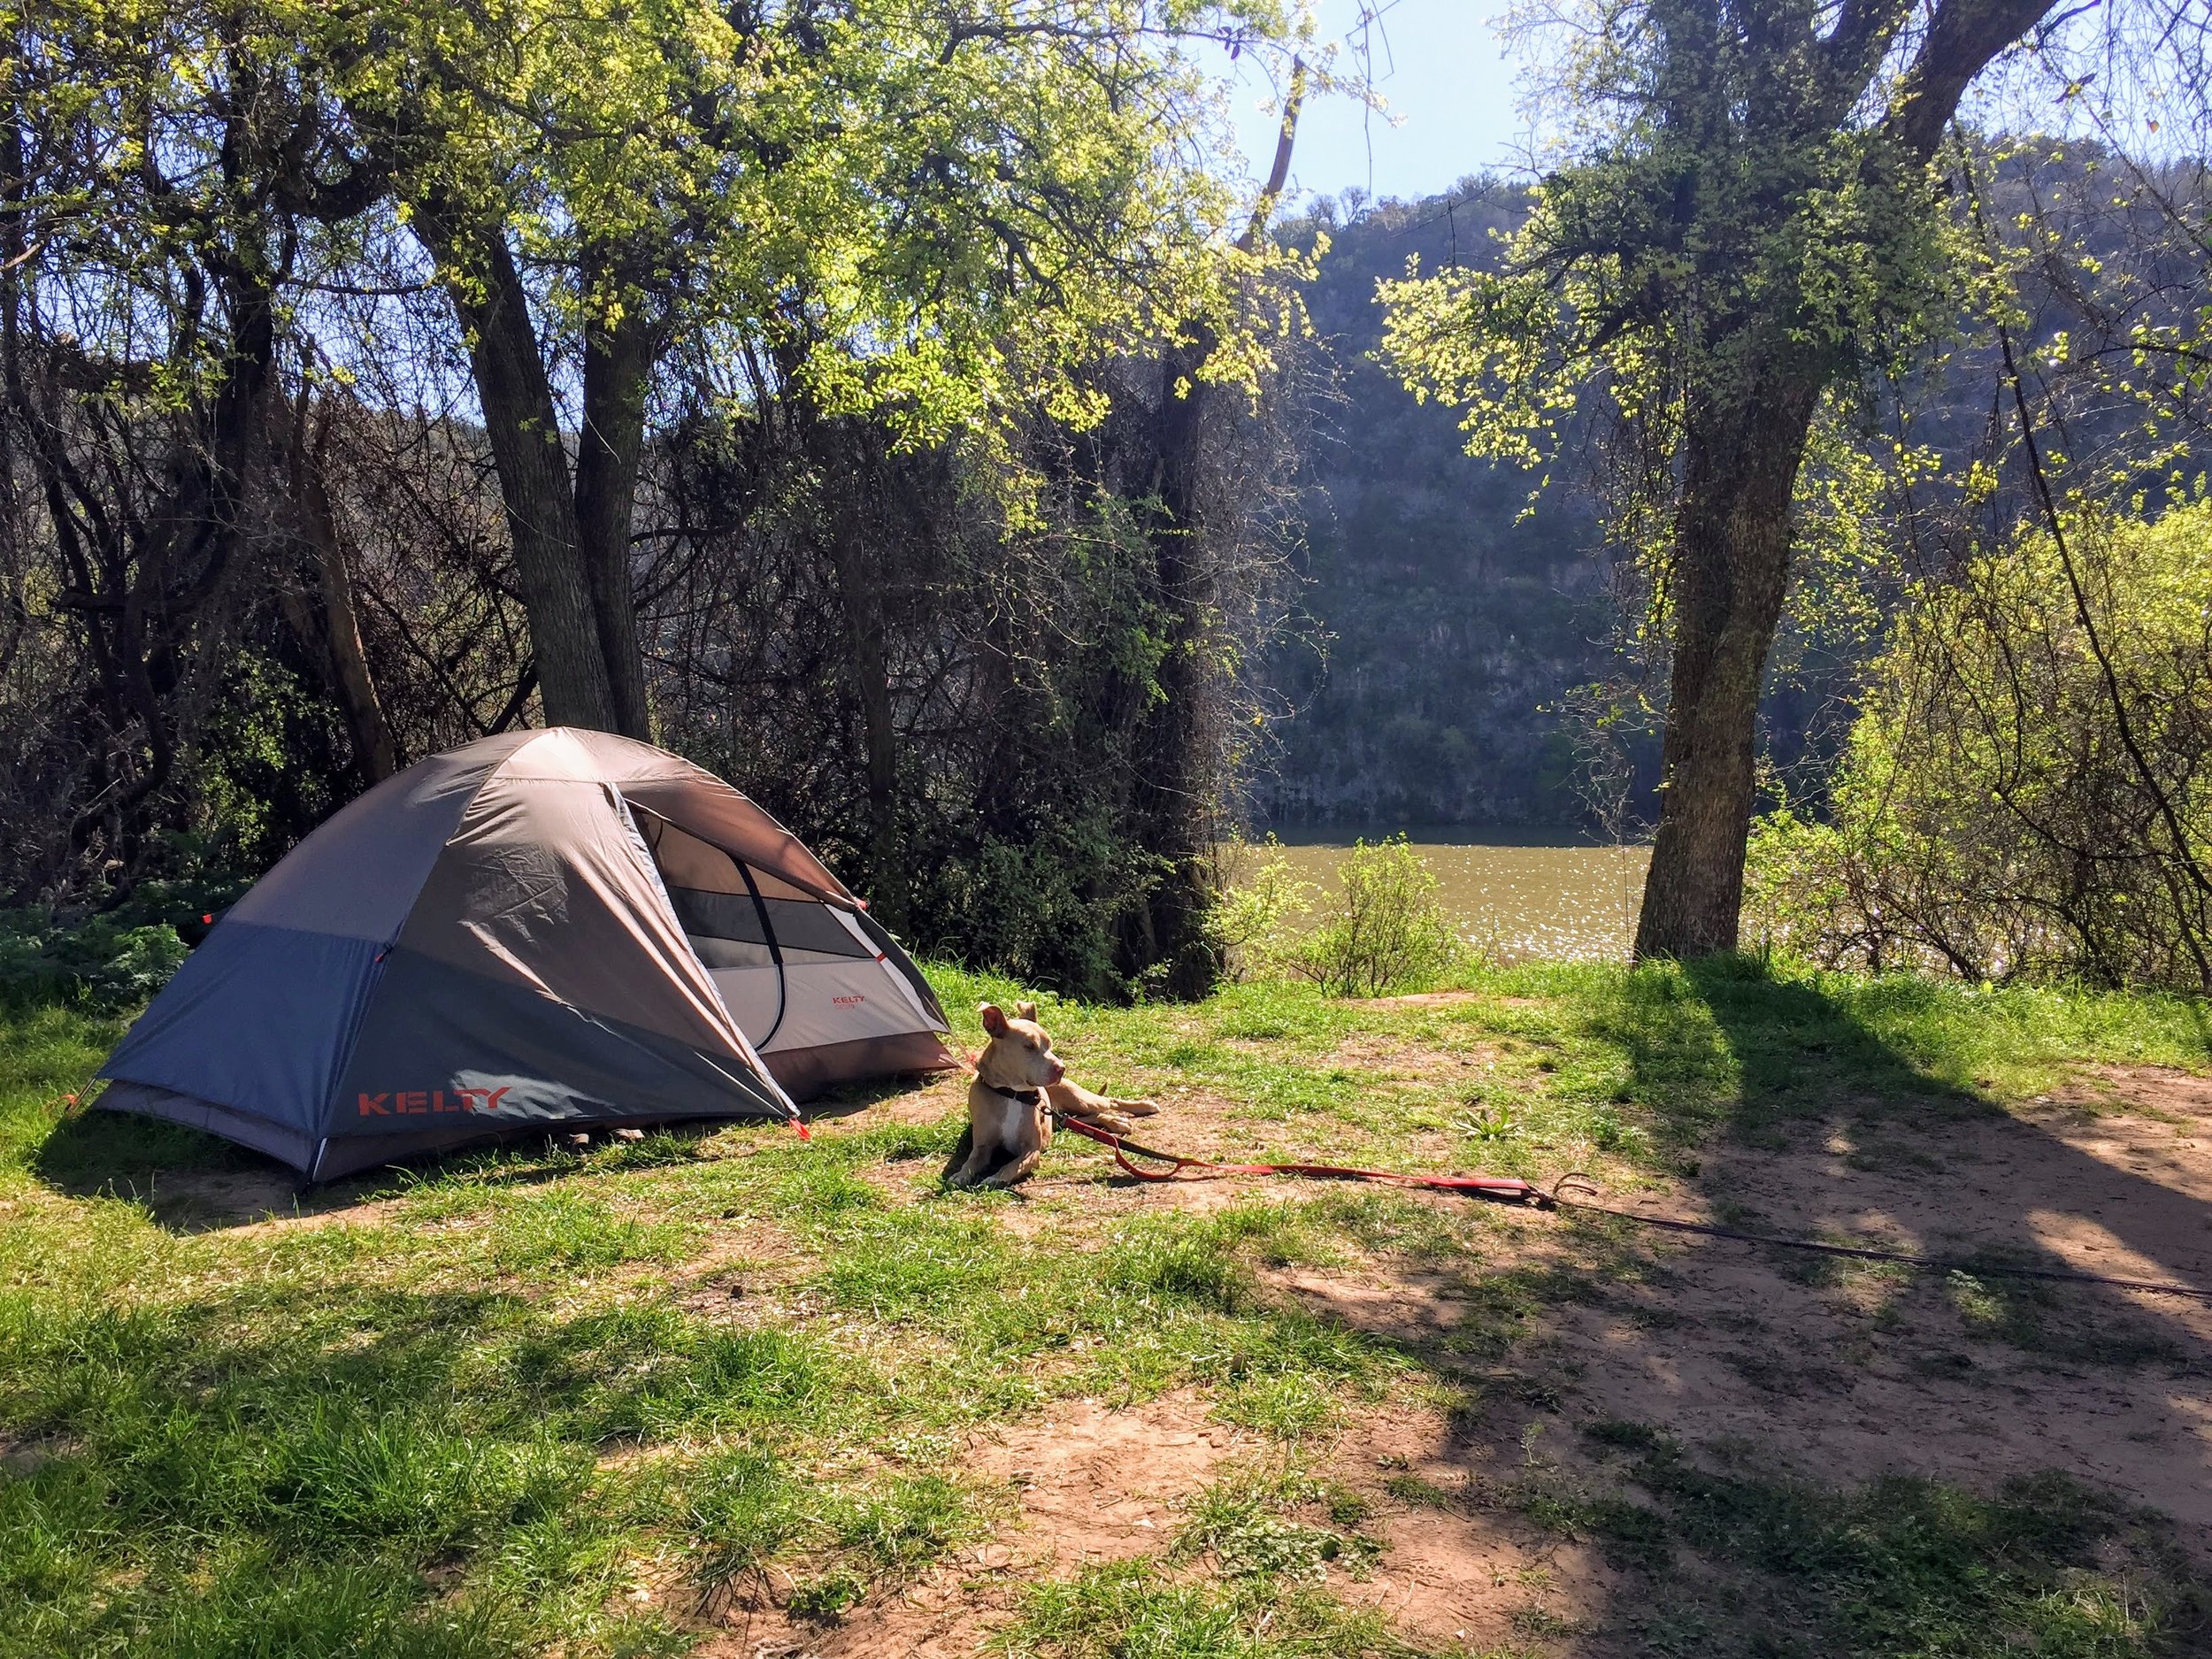
View of the lazy Coloroado River from our campsite. Coca the Catahoula basks in the springtime sun. 

View of the lazy Coloroado River from our campsite. Coca the Catahoula basks in the springtime sun. 

Yucca plant in bloom

What's the camping situation? 

The park has two main sections for camping. The biggest camping area is about six miles into the park, near park headquarters. With roughly 50 campsites available in this area (only 15 of which are drive-in) you have to book far in advance to get a weekend reservation when the weather is mild. For our mid-March trip, I made a reservation in early October. We're finding that Spring/Fall weekend camping in Texas requires reservations very far in advance. The reason for this is obvious, but makes last minute camping in most State Parks nearly impossible. We've begun regularly making reservations several months in advance. You can make a reservation at Colorado Bend or any other state park by visiting this link.

The park offers drive-in, walk-in, and group sites. For the drive-in sites, you should expect little to no privacy from your neighbors in the next campsite over. They are very close together and there are no trees in between to offer even a tiny bit of separation. I have to admit we were a little disappointed that our campsite didn't have any trees on which to hang our hammocks.

If you want a little more distance from your fellow campers like we do, the walk-in sites might be a better option. They vary in distance from their designated parking spots but are still fairly close. I would guesstimate no farther than 100 yards at the very farthest for the river area campsites. There still isn't a ton of tree cover to offer privacy, but they are more spread out than the drive-in.

Each campsite has a fire ring and a “lantern holder,” which most people use to hang their trash. There are a few potable water spigots in the area but not at each campsite. There are also a few composting toilets scattered throughout the camping areas but no flush toilets or indoor showers or sinks.

The other main area for camping in the park is the Windmill backpack camping area. These campsites are roughly a mile from parking, do not have river access, and are in a completely different part of the park than the rest of the campsites. We didn't visit this area of the park so we unfortunately cannot comment on these campsites.

And Hiking?

There are over 35 miles of trails in this park and we can't wait to go back so we can piece together a few more. The main trails we hiked were Spicewood Springs trail and Spicewood Springs Canyon. The two trails make a loop that first crisscross over the creek and then follow a ridge that has spectacular views of the creek, the Colorado River, and the surrounding area. At just under 4.5 miles from trailhead to trailhead, this very manageable hike is jam packed with water crossings that make you want to stop and cool off in the emerald green waters.

This hike is listed as challenging on the Park's website and map, but we would characterize it as moderate. It's fairly short, has a few tricky creek crossings, but is mostly flat and shady. We would recommend wearing shoes that you don't mind getting wet. This makes the numerous water crossings less tricky.

One of the first creek crossings on the Spicewood Springs Trail 

Some small waterfalls on the Spicewood Springs trail 

Takeaways:

  • Get out there! This park is well worth the short drive from Austin, even for a day trip. 
  • Book camping reservations far in advance for Spring/Fall weekends
  • For day use, get to the park early to avoid the disappointment of being turned away because the park is full
  • Don't be afraid of the walk-in campsites if you want a little more privacy from other campers
  • The hikes don't require heavy duty hiking boots but we recommend at least wearing waterproof boots or shoes you don't mind getting wet